On this page
Application · 10 min read
Microcement bathrooms: what changes when you skip the tile
The fastest-growing reason people call us isn't paint or plaster — it's a tile bathroom they've been re-grouting and re-sealing for the past eight years and don't want to anymore. This is what actually changes when you put microcement in a bathroom instead.
How the waterproofing actually works
Microcement is not technically waterproof on its own — the waterproofing comes from the polyurethane top coat applied as the final two layers of the system. The microcement bathroom system is built up across five to seven layers: primer with embedded fibreglass mesh, two base coats, two finish coats, then two coats of sealer. Once cured, the sealer creates a continuous, joint-free membrane bonded to everything underneath. The microcement provides the colour, texture, and mechanical durability; the sealer does the waterproofing. (The dedicated deep-dive on this — zones, tanking, failure modes — is in is microcement waterproof?)
That layered approach is the meaningful difference from a tile bathroom. With tile, the waterproofing is a separate tanking membrane underneath the tile, with the visible surface above (the grout) being porous. Water tracks through the grout, hits the membrane, and either drains away or — when the membrane fails or was poorly detailed at corners — finds its way into the floor below. The mould stains you see in old tile bathrooms are this process happening visibly. With microcement, the visible surface itself is the waterproof layer; there is no porous joint for water to enter through in the first place.
The other consequence: there are no material transitions in a microcement bathroom. The same finish runs from the floor up the wall, into the shower, around the bath plinth, behind the basin, into a niche shelf, around the bath spout, up the wall behind the WC — one continuous waterproof gesture with no grout, no sealant lines, no metal trim, no break. In construction terms, it removes about a dozen detail-and-fail-points from the room.
The 2–3 mm system thickness also means almost no build-up over the existing surface. A bathroom retrofit doesn't lose floor-to-ceiling height, the door doesn't need to be cut to clear a new threshold, and the bath surround doesn't have to be furred out to meet new tile thickness. We can take an existing tiled bathroom, prep the surface (deglazing, filling grout joints flush, embedding mesh), and apply the system directly over it without rip-out. That alone shaves typically 4–6 days off a renovation.
The sealer is doing all the work — what to know
Because the sealer carries the waterproofing, the choice of sealer system matters more than most people realise — and is the area where cheap quotes most often save money. There are roughly four grades that get used in residential and pool work:
- Standard interior PU sealer — fine for living-room walls, hallways, dry zones. Ten-to-fifteen-year refresh cycle. Not rated for repeated water exposure.
- Wet-zone PU sealer — formulated for shower walls, bath surrounds, bathroom floors, splashed kitchens. Two-coat application minimum, more chlorine-tolerant chemistry. The right answer for a residential bathroom.
- Heated-floor PU sealer — formulated for surfaces that go through repeated thermal cycling. Standard sealers can chalk under heating; this grade stays stable. Used when the bathroom has underfloor heating.
- Pool/full-immersion sealer — for surfaces under standing water (swimming pools, hot tubs, water features). Different chemistry, longer cure, much higher chlorine and pH tolerance.
For a typical residential bathroom — including walk-in showers and steam rooms — the wet-zone PU sealer is what you want. For a heated bathroom floor, ask whether the heated-floor variant is being used. If a quote uses the same sealer for a kitchen, a bathroom and a pool, that's a flag worth asking about — it's the cheaper way to do business but produces failures that turn up two to three years in. The cost difference between standard and wet-zone sealer on a typical bathroom is around £200–£300 of materials; the cost of replacing a failed sealer in a wet bathroom is £1,500–£3,000.
The sealer doesn't last forever, but it doesn't need to be ripped out and replaced either. Every ten to fifteen years it benefits from a clean and a fresh top-coat, applied in place. The base layers (primer, mesh, base coats, finish coats) stay where they are; only the top coat is renewed. The refresh is a one-day job costing typically £800–£1,500 for a standard bathroom — versus £4,500+ for completely re-tiling and re-grouting an aged tile bathroom.
Slip resistance — finish choice for the floor
This is where the three-finish question stops being purely aesthetic and starts being a safety question. The smooth finish is beautiful on a vanity top or a vertical wall but is the wrong choice for a wet floor — water on smooth microcement is genuinely slippery, comparable to wet polished porcelain. We've turned down work where a client wanted smooth on a shower floor because the safety case is hard to argue.
For a shower floor or bathroom floor that gets wet, we use one of:
- Stucco effect — visible hand-troweled texture with subtle cloud-like variation. Naturally slip-rated to R10–R11 (DIN 51130). Good for residential bathroom floors where occupants can see the surface they're stepping on.
- Coarse effect — pronounced grain that you can feel underfoot. Slip-rated R11–R12. Good for shower trays, wet rooms with no enclosure, family bathrooms with kids and elderly relatives, and any floor where someone might step out wet onto a flat surface. The default for shower floors.
- Smooth + anti-slip aggregate in the sealer — fine glass or polymer beads broadcast into the wet sealer between coats, then over-sealed. For when you want the surface to look smoother but still need slip rating. Increases cleaning effort slightly because the texture catches soap film. Slip rating R10–R11 depending on aggregate.
Walls don't need slip rating, so floor and walls in the same bathroom usually use different finishes — coarse or stucco on the floor, smooth on the walls. The colour stays the same, the texture changes underfoot. Most clients can't tell the difference visually unless you point it out, but they feel the difference the first time they step onto a wet shower floor and don't slide.
Where microcement goes in a bathroom
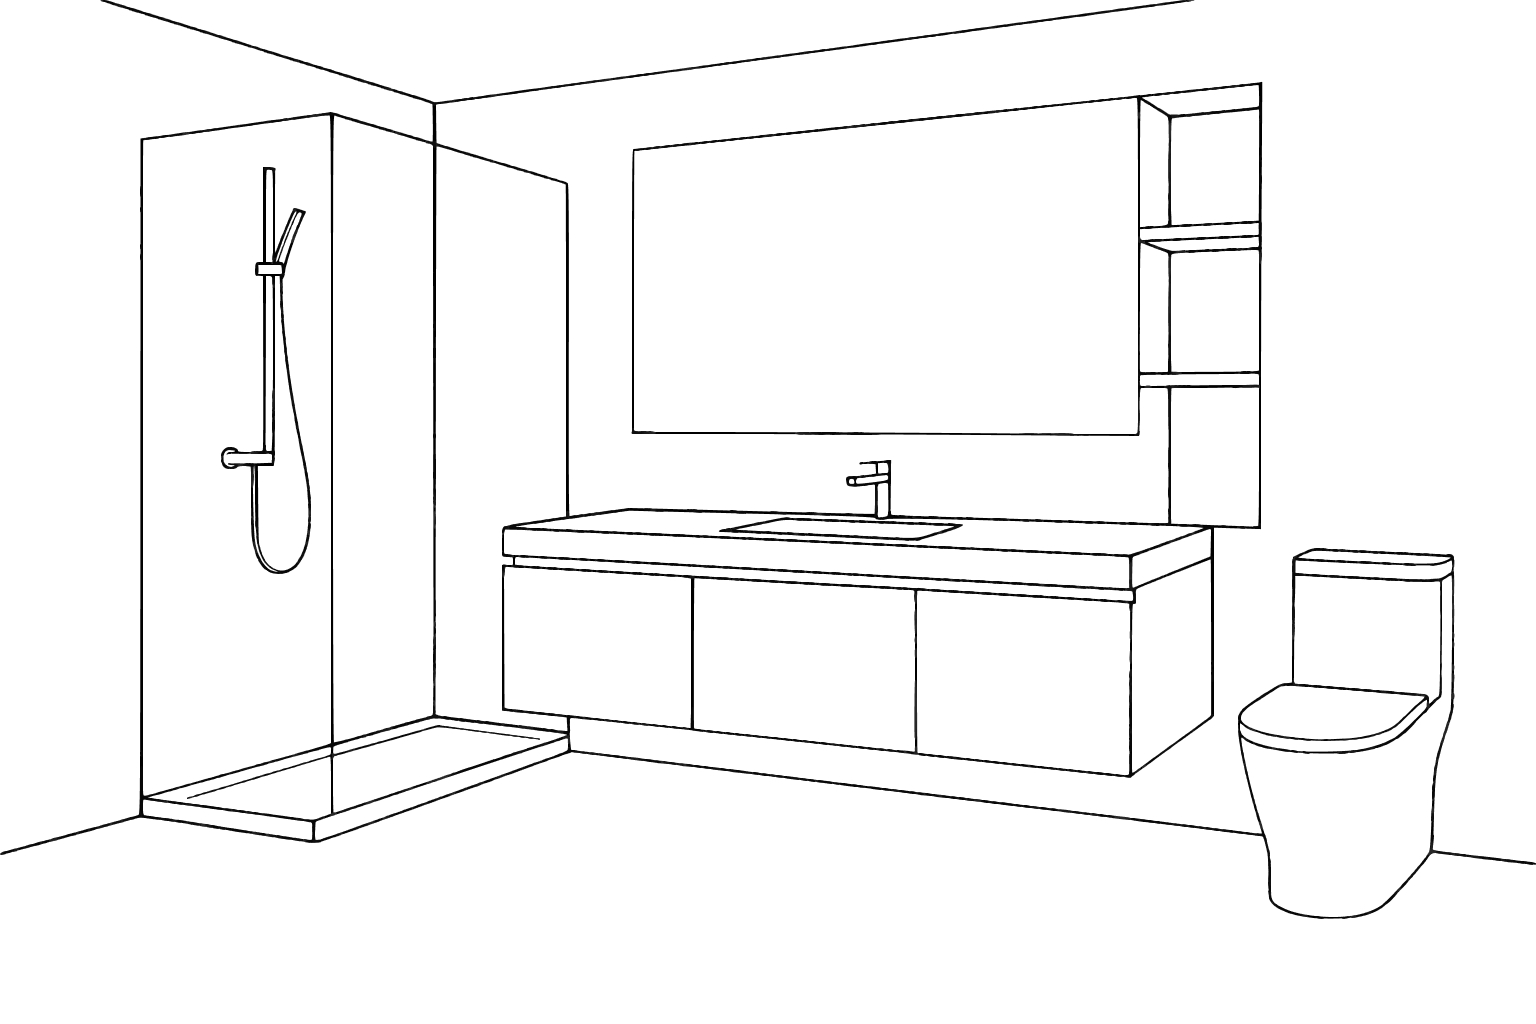
The full system covers far more than just the walls and floors. In a typical full-room install we'll do:
- Floor — including the shower tray. The shower drains through a linear slot or hidden gully formed into the microcement, with the floor falling slightly to drain. No separate shower-tray panel is needed.
- All walls, full height, including the ceiling line. The line where wall meets ceiling can be a hard 90° or a soft chamfer depending on aesthetic preference.
- The shower enclosure walls — inside, including the niche shelves cut into them for shampoo and soap. No glass screens to seal against tile, because there's no tile.
- Bath plinth and any built-in benches — a freestanding bath usually sits proud of the floor; a built-in bath has its plinth and front face finished in the same microcement as the surrounding floor and walls.
- Vanity top with integrated basin if specified — the microcement is shaped around an under-mount basin so the vanity top runs straight into the bowl with no rim.
- Niche shelves and recesses — formed from the same material as the surrounding wall, so they read as carved out of the wall rather than added to it.
- The reveal of fitted mirrors and cabinets — the cut-in around a fitted mirror or recessed cabinet is microcement, not silicone.
What stays out: the toilet pan, taps, shower heads, mirrors themselves, electrics, and any glass screens. The microcement is masked off and runs around all of these. For more on the wall portion of the room and how it ties in elsewhere in the house, see where microcement walls earn their place.
What a microcement bathroom costs vs a tile bathroom
UK 2026 prices, installed by a specialist:
- Compact en-suite microcement bathroom (3–4 m² floor, walls + floor + shower) — £4,500–£8,000.
- Standard family microcement bathroom (5–7 m²) — £6,500–£12,000.
- Larger or master microcement bathroom with separate shower + bath — £10,000–£18,000.
- Detail-heavy spec (curved walls, integrated benches, bespoke vanity, blended finishes, multiple colours) — add 25–40% on top of the base.
For comparison, the same room in tile:
- Mid-range porcelain tile bathroom (decent porcelain, basic grout, standard shower tray) — £4,500–£9,000 for a typical family bathroom.
- High-end tile bathroom (large-format porcelain, natural stone, designer fittings) — £10,000–£20,000+.
Microcement and mid-range tile are in the same initial-cost band, and microcement undercuts high-end stone tile by 20–30%. The interesting comparison is the lifetime cost. Over fifteen years a typical tile bathroom needs the silicone bead between bath and walls replaced four to six times (£200–£300 each), grout deep-cleaning every six months, full re-grouting once or twice (£1,200–£2,000 each), and probably a tile or two replaced after the inevitable dropped bottle (£300–£600). A microcement bathroom needs one sealer refresh in the same period (£800–£1,500). Microcement comes out cheaper across fifteen years even when the initial install is the same. Full breakdown in our microcement cost guide, with the bathroom-by-bathroom budget bands in the microcement bathroom cost guide.
Living with a microcement bathroom — five years in
The things that surprise people once they've lived with one:
- Cleaning is faster, not slower. A soft mop and pH-neutral cleaner once or twice a week is the entire routine. No grout to scrub. No mould lines to bleach. No silicone bead to rake out and redo. The mental tax of "the bathroom needs a deep clean" is mostly gone.
- The colour stays remarkably consistent. No fading, no yellowing on lighter colours, no shadow lines from where soap residue used to track through grout. Five years in, a microcement bathroom looks like it did the day it was finished. Photos from year one and year five are usually indistinguishable.
- Limescale is the main maintenance topic. If you're in a hard-water area (most of London is) the dissolved minerals leave a faint cloudy haze on the shower walls, especially on darker colours. Quick wipe-down after use, or a once-a-month wipe with a mild descaler keeps it invisible. This is the same problem tile bathrooms have, but easier to deal with on a flat sealed surface than in grout joints.
- Repairs are local and invisible. A scratch from a dropped razor, a chip from a moved fixture, a stain that's bled through the sealer in one spot — re-troweled and re-sealed in the affected area in a half-day visit. Because the finish is hand-applied, the patch blends into the surrounding texture. The exception is whole-surface failures (e.g. a wrong-sealer-everywhere job), which need the sealer stripped and re-applied across the full surface — but those are install failures, not wear.
- Damp problems become visible early. Because the surface is sealed and continuous, any underlying damp issue (rising damp, a leak from a pipe behind the wall, condensation in a poorly-ventilated room) shows on the surface as efflorescence (white salt deposits) or blistering before it can hide for years and spread. That's a feature, not a bug — better to know about a leak in month three than year five.
- Smell improves. The lingering damp-and-mould undertone of an aged tile bathroom is mostly grout. With no grout there's nothing to harbour the smell, and the room feels fresher even when it's been a few days since cleaning.
Things that go wrong on bad jobs are almost always preventable at the spec stage — see common issues and how to avoid them for what to push back on in a quote.
When tile is still the answer
Microcement isn't the right call in every bathroom. Three cases where we'd recommend tile instead:
- You genuinely love a strong tile pattern. Fish-scale ceramic, encaustic cement tile, herringbone marble, hand-painted Moroccan zellige — the aesthetic is what tile does best, and microcement deliberately doesn't try to replicate it. Microcement does monolithic; tile does pattern. If pattern is what you want, the right answer is tile, not the wrong-shaped microcement.
- The substrate is moving. A bathroom floor with hairline cracks tracking through the screed every winter, plasterboard walls with loose joints, a freshly-extended room that hasn't fully settled — any of these will telegraph movement straight through a rigid microcement finish. Tile (which has grout joints that can absorb a small amount of movement) is the more forgiving choice unless you can fix the substrate first. The substrate diagnostic questions are the same as in any of our bathroom installs — see the section on substrate prep in the complete guide to microcement.
- Your installer can't articulate the sealer system they're using. Bathroom microcement is the most technical install in residential microcement work. The wrong sealer for the conditions, or the right sealer applied wrong, fails in two to three years and the fix is to redo the whole surface. If the conversation about sealer is vague (just "polyurethane" with no grade specified), the result will be too. Better to specify tile from a competent tiler than microcement from a vague microcement contractor. The questions worth asking are in the FAQ.