Richmond
The colour matching was perfect. Professional service from start to finish
Specialist microcement installation across London and Surrey — applied at 2–3mm thick over your existing surfaces. No demolition, no grout, no joints. Three signature finishes in over 40 colours.

From walls and floors to bathrooms, kitchens, pools and outdoor surfaces — every microcement application uses the same continuous, sealed system, just specified for the conditions it has to handle.
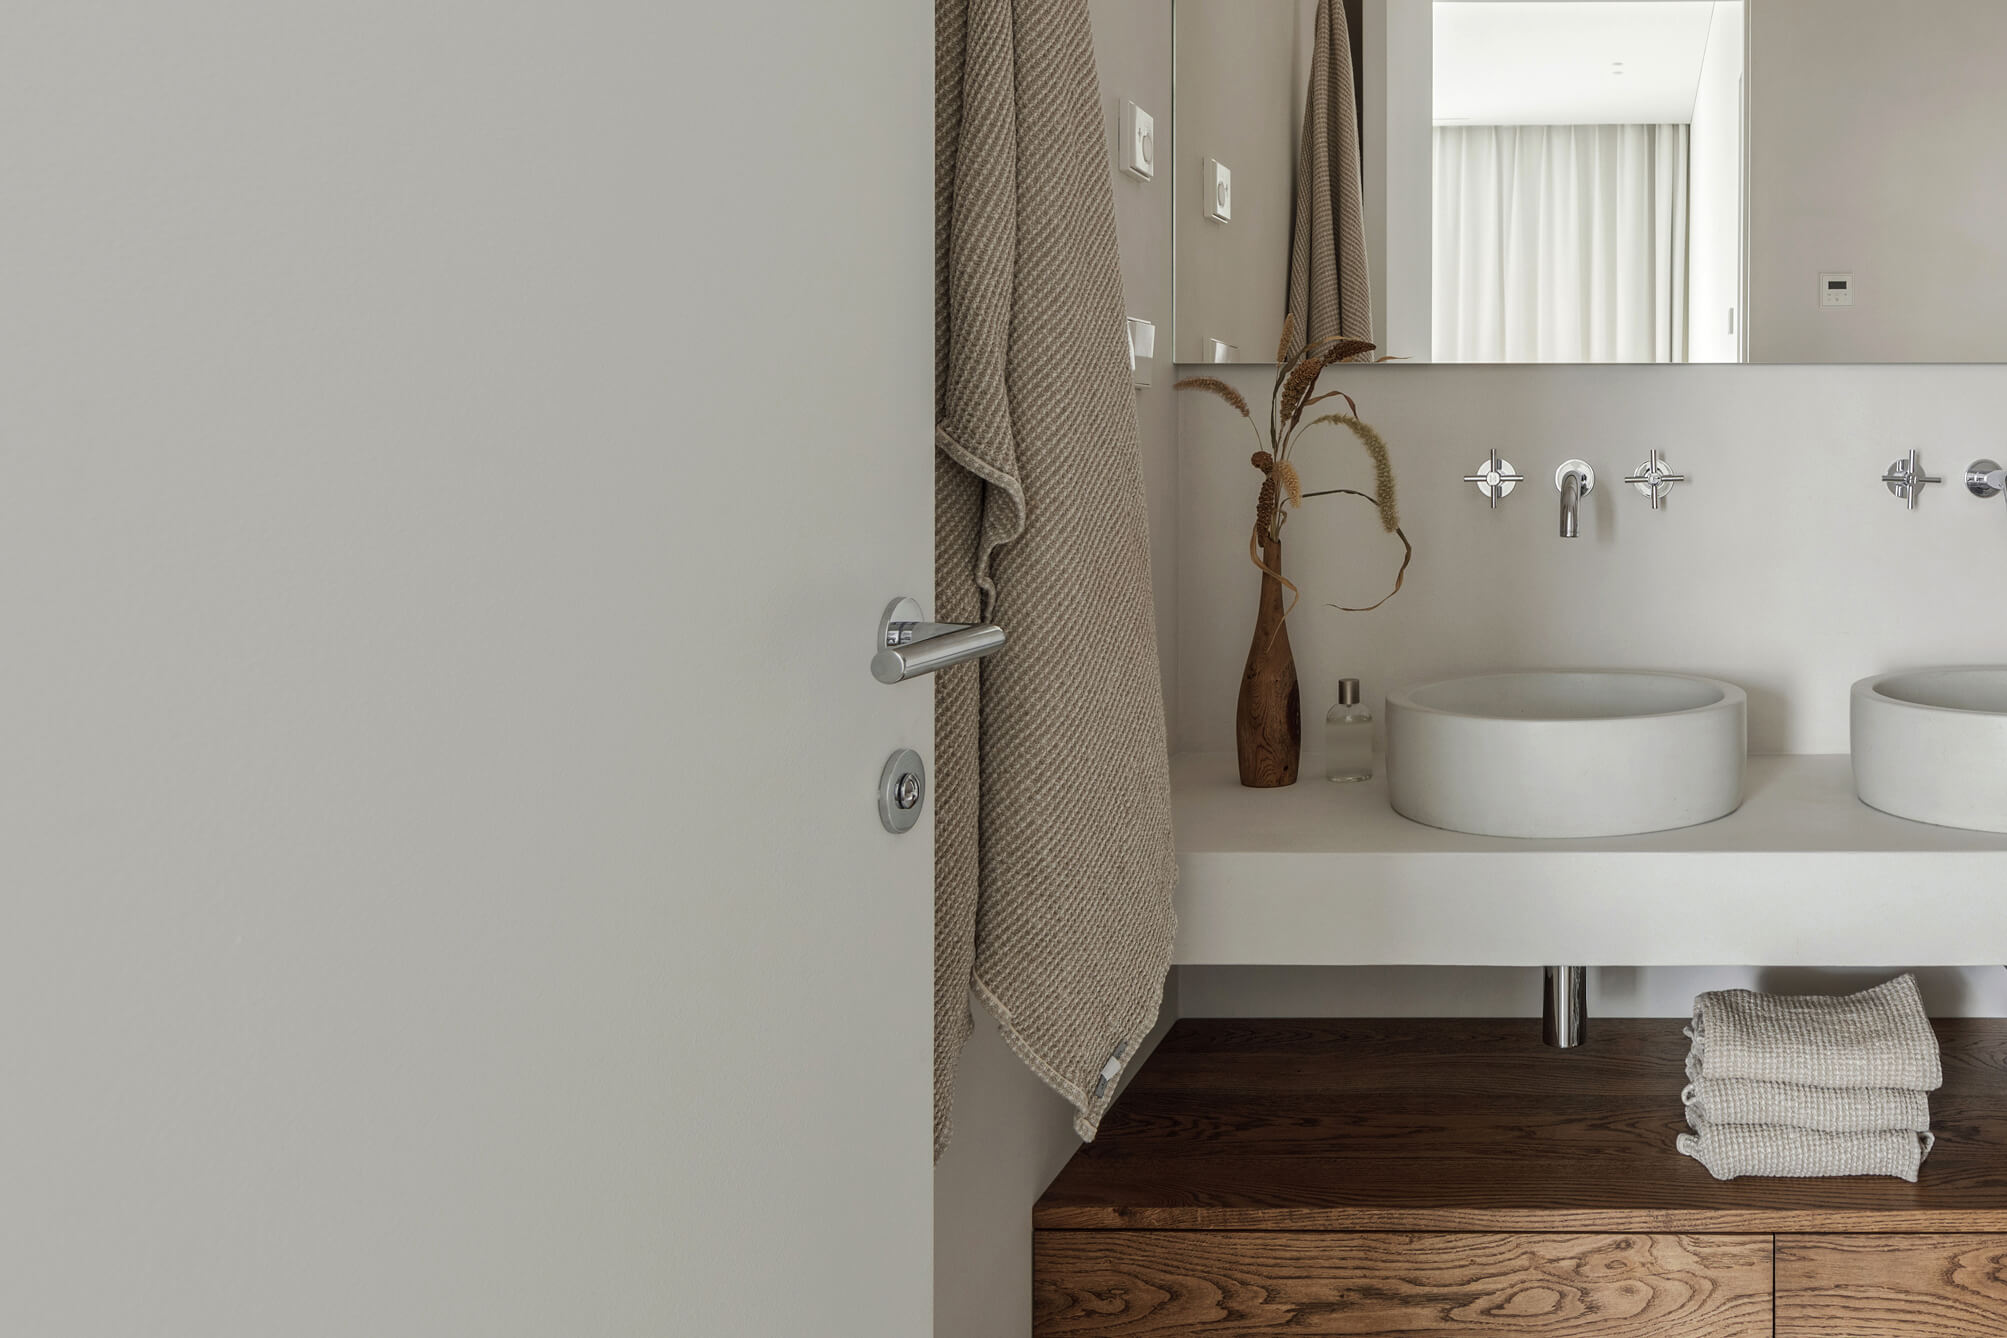
Seamless wall finishes — no grout, no joints.
Explore 02Continuous floors that flow from room to room.
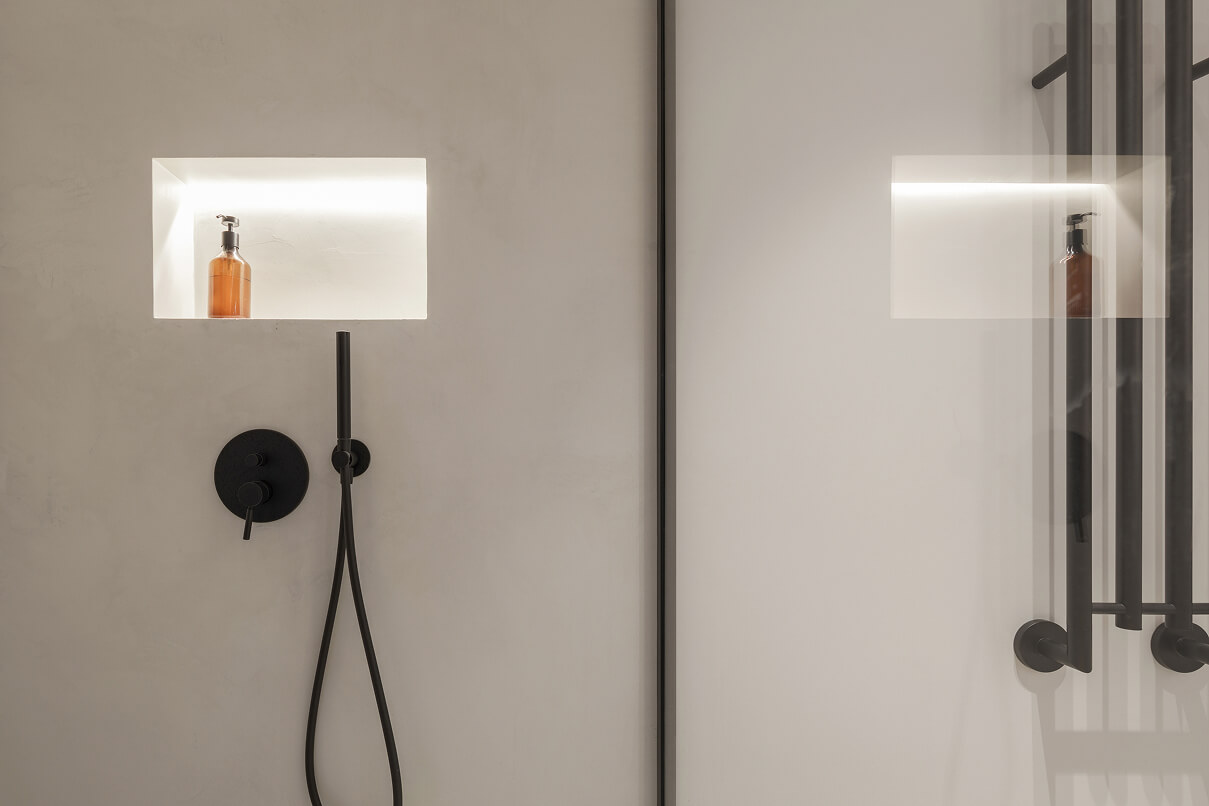
Explore 03Fully waterproof — no grout to clean.
Explore 04Heat-resistant kitchen counters with integrated sinks.
Explore 05Walk-in wet rooms with no door or screen needed.
Explore 06Weather-resistant patios, decks and garden walls.
Explore 07Seamless waterproof pool linings, any colour.
Explore 08Slip-resistant stairs that match the surrounding floor.
Explore 09Bespoke tables, benches and built-in pieces.
ExploreEvery project starts with two choices — the style (how textured the finish reads) and the colour. All three styles are available in any of 47 standard colours, plus custom-matched options for design-led projects.
The most refined of the three styles. Minimal visible trowel marks for a near-uniform appearance.
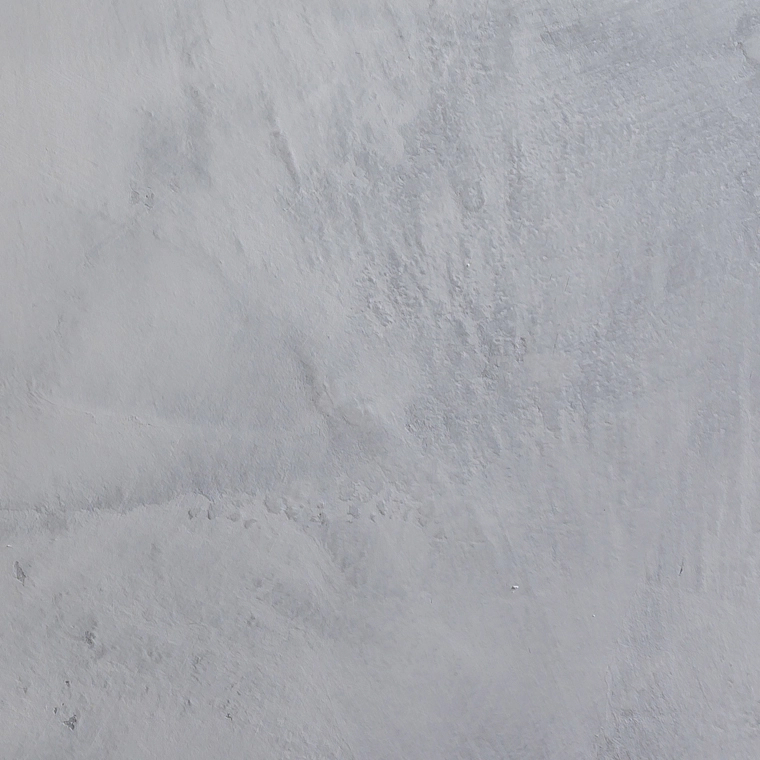
Visible hand-troweled texture with subtle cloud-like tonal variations — Venetian plaster character.

Pronounced grain and tactile surface texture — the most expressive of the three.
Architectural greys, warm beiges, earthy greens, cool blues, deep tones — and custom matching for design projects. We bring the full sample tray to your home so you can see them in your own light.
Browse the full paletteMicrocement (also written micro-cement, microcimento or, in French, béton ciré) is a thin, polymer-modified cement coating that bonds to almost any substrate — floor, wall, worktop, even existing tile — and creates a continuous, seamless finish in a single mineral colour. Originally developed in southern Europe for industrial floors, it now sits at the centre of modern interior design across London and Surrey.
The appeal is simple: one material, hand-applied, that can run from a bathroom floor up the wall and into the shower without a grout line, a metal trim or a change of surface anywhere along the way.
The full build-up is just 2 to 3 millimetres thick, applied across five to seven hand-troweled layers. Each layer combines high-grade cement with quartz aggregate and an acrylic resin; a final polyurethane sealer locks the surface against water, abrasion and staining. Because it bonds chemically to the substrate rather than sitting on top of it, there is no grout, no expansion joint, and no break in the visual flow of the room.
The same base system adapts to almost every surface in a home or commercial space:
The visible finish is identical across all of these. What changes between, say, a kitchen worktop and an outdoor patio is the chemistry below the surface — the resin, the aggregate grade, the sealer system — all tuned for the loads, temperatures and moisture each surface has to handle.
Yes. Once the polyurethane sealer is cured, microcement is fully waterproof — which is why it is specified for showers, wet rooms, swimming pools and outdoor surfaces where conventional tile would need grout, and grout is normally the first thing to fail. There is no porous joint for water to track through, no sealant line that has to be raked out and replaced.
The sealed top coat is anti-scratch, anti-slip and stain-resistant. Day-to-day care is the same as a sealed natural stone — a soft mop and a pH-neutral cleaner; no waxing, no special products. With normal residential use the surface holds for ten to fifteen years before the sealer benefits from a refresh, and that refresh happens in place — no demolition, no skips, no rip-out.
Versus tile — no grout lines means less cleaning, no mould, no chipped edges. The surface itself becomes the design element, not the joints between it.
Versus polished concrete — at 2 to 3 millimetres, microcement does not need a structural slab and weighs a fraction of solid concrete. It can sit directly on top of existing tile, screed or plywood without removal.
Versus resin and epoxy — microcement is mineral, breathable, and noticeably gentler underfoot. Repairs are local: small damaged areas can be re-coated without disturbing the rest of the surface.
No — and this is one of the reasons microcement renovations are quick. The system can be applied directly over existing ceramic tile, concrete, screed, plywood, MDF and even old kitchen worktops. Door clearances, threshold heights and skirting details usually stay exactly as they are.
Three finishes describe how textured the surface reads under your hand: smooth (the most refined), stucco effect (visible hand-troweled texture, Venetian plaster character) and coarse effect (pronounced grain, the most expressive of the three). Each is available in 47 standard colours — architectural greys, warm beiges, earthy greens, cool blues, and deep tones — with custom colour matching for design-led projects.
Most residential projects move from sample selection to finished surface in 7 to 12 working days: surface preparation and assessment, primer with reinforcement mesh, two base coats, two finish coats, then the protective sealer. We start with a free site visit, bring the full sample tray so you can see colours in your own light, and send through a fixed-price quote with no obligation.
Foundation for Success
Thorough surface preparation is the most critical step in microcement application. The substrate must be completely clean, dry, stable, and properly assessed before any application begins.
Tap tiles to check for hollow sounds and remove any loose tiles completely. Clean thoroughly and degrease all surfaces. Lightly sand glossy tiles with 120-grit sandpaper to create mechanical adhesion. Fill joints wider than 2mm with base microcement before proceeding.
Check plaster is well-bonded and moisture content is below 3%. Apply consolidating primer if surface is friable or powdery. Fill hairline cracks with flexible filler and sand any high spots smooth. New plaster requires minimum 4 weeks drying time.
Test paint adhesion with cross-hatch test and remove any flaking or peeling areas. Sand glossy surfaces with 120-grit sandpaper to reduce sheen. Clean thoroughly to remove all dirt and grease. Apply bonding primer.
Grind surface to remove laitance and create open pore structure. Fill cracks larger than 0.5mm with appropriate repair compound. Remove all dust with industrial vacuum.
Creating the Perfect Bond
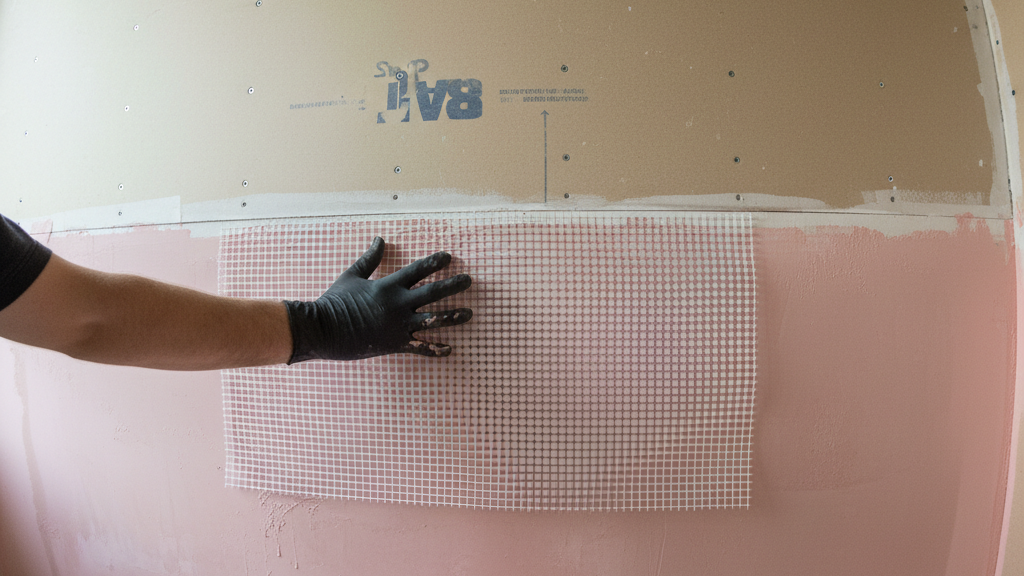
Specialised primer creates optimal adhesion between substrate and microcement system. Fibreglass mesh is installed where required to provide additional reinforcement and prevent cracking.
Primer type depends on substrate porosity (absorbent vs non-absorbent). Fibreglass mesh mandatory on all floors and tiled surfaces. Allow 30 minutes minimum drying time before next step. Coverage: approximately 0.15–0.20 kg/m² for primer.
Use Primer Plus for non-absorbent surfaces (tiles, marble, terrazzo). Use standard primer for absorbent surfaces (plaster, concrete, drywall). Apply mesh without wrinkles or air bubbles. Overlap mesh joints by minimum 10cm.
⚠ Note: Do not exceed 24-hour window between primer and base coat. Ensure complete primer coverage — missed areas will cause adhesion failure.
Building the Foundation Layer
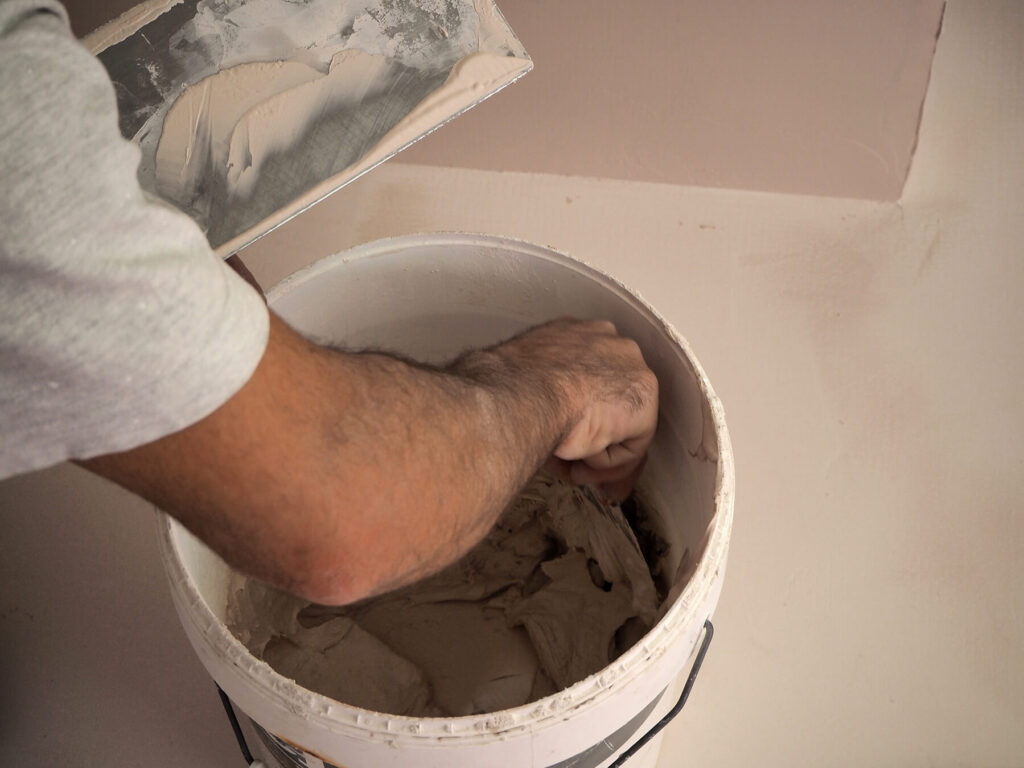
The first base coat is applied with steel trowel in thin, even layers, working systematically across each area to maintain a wet edge.
Apply in thin, even layers (maximum 1mm thickness). Work in manageable sections to maintain wet edge. Use cross-hatch application technique for optimal coverage.
Mix only quantity needed for 30–45 minutes of work. Use flexible steel trowel at 30–45 degree angle. Apply with overlapping strokes to avoid lines. Sand lightly between coats if necessary to remove imperfections.
⚠ Note: Multiple thin coats are superior to a single thick coat. Maintain consistent pressure and technique to avoid visible joints.
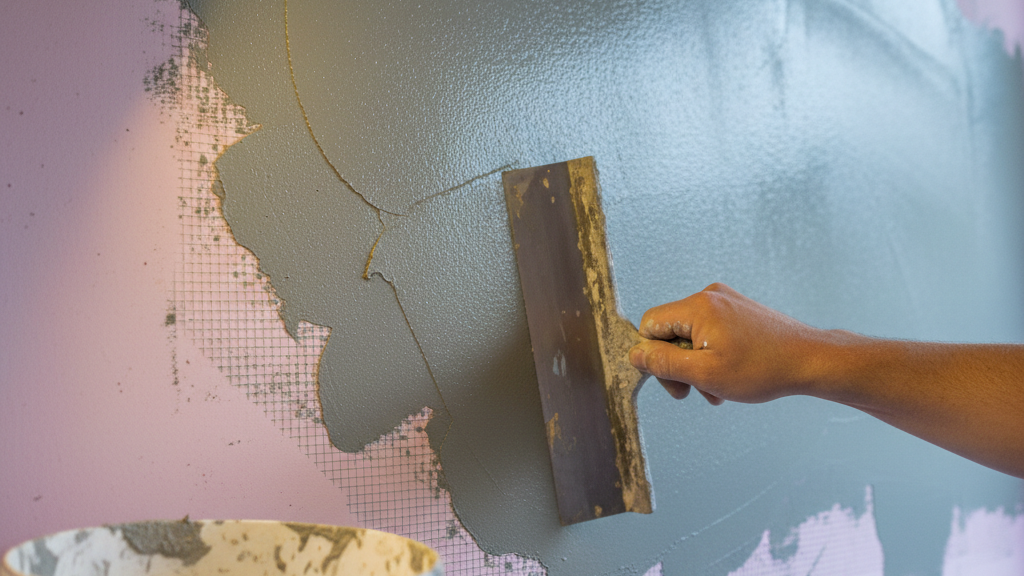
Strengthening and Levelling

The second base coat reinforces the first layer, provides additional strength, and creates a smooth, level surface for the finishing coats.
Light sanding may be required to smooth imperfections. Apply perpendicular to first coat direction for optimal coverage. Thickness: 0.5–1mm maximum per coat.
Vacuum all dust thoroughly before application. Check for and fill any pinholes or imperfections. Use consistent mixing ratios for colour uniformity. Work systematically to avoid overlap marks.
⚠ Note: Ensure first coat is completely dry before proceeding. Protect from foot traffic during curing period.
Achieving the Final Aesthetic
The finishing coats provide the final colour, texture, and aesthetic appearance of the microcement surface. Applied in two thin layers, these coats create the characteristic microcement look.
First finish coat: focus on coverage and colour uniformity. Second finish coat: concentrate on final texture and appearance. Each coat thickness: 0.3–0.5mm maximum.
Use rubber trowel for smoother finish, steel trowel for more texture. Apply in random, overlapping strokes for natural appearance. Maintain wet edge to avoid visible joints. Final coat determines surface texture — work carefully.
⚠ Note: Colour variations between batches can occur — mix sufficient material. Do not overwork the surface; this can cause burnishing.
Long-term Performance
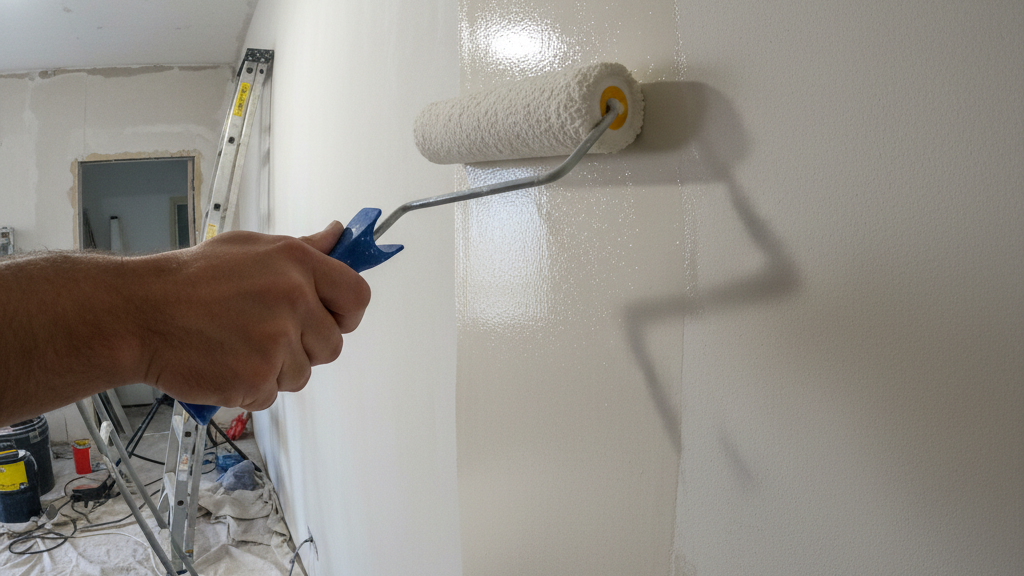
The final sealing process protects the microcement from stains, moisture, and wear while enhancing the colour and providing the desired sheen level.
Apply presealer first, followed by topsealer. Two coats of each sealer type required. Allow 24 hours before use.
Use high-quality synthetic rollers for even application. Apply in thin, even coats to avoid pooling. Sand lightly between sealer coats if needed. Temperature and humidity affect curing time.
⚠ Note: Ensure microcement is completely dry before sealing. Allow full cure time before exposing to water or chemicals.

Which is cheaper, and which is better where — upfront cost, disruption, maintenance and the 15-year numbers, compared honestly.
Read article
Colours, finishes and nine looks that work — beige to charcoal, small en-suites to wet-room monoliths, from real UK projects.
Read article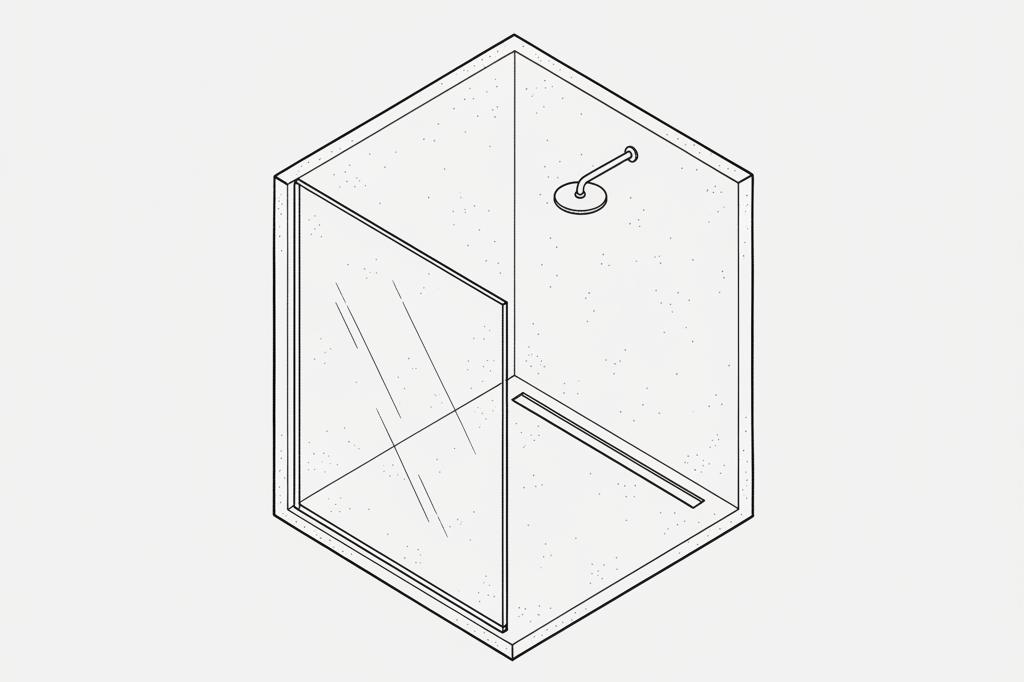
The honest answer: the sealer system does the waterproofing. How it works, where tanking still matters, and what failure looks like.
Read article