On this page
Use cases · 7 min read
Where microcement walls earn their place
Microcement is a brilliant wall finish — for the right wall. It is not the answer for every painted surface in the house. These are the seven scenarios where it solves a real problem, and the three where it is the wrong tool.
1. Wet rooms and walk-in showers
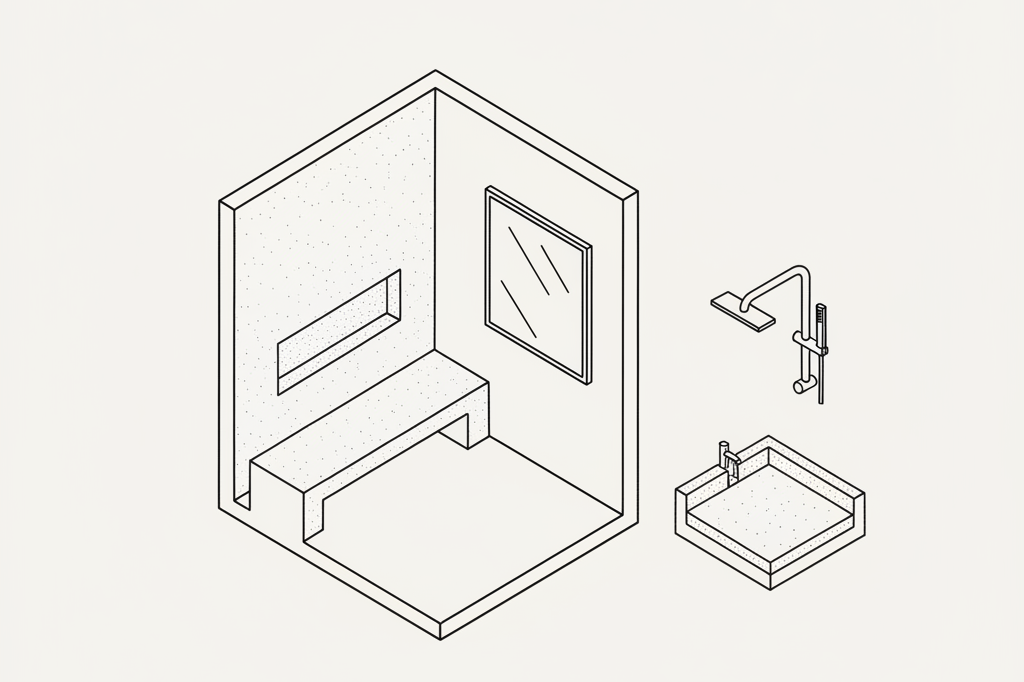
This is where microcement walls are unbeatable. Once sealed, the surface is fully waterproof — no grout joint to track water through, no sealant line to rake out and replace every couple of years. We can run a single, joint-free finish from the floor up the wall and into the shower with no break: no skirting, no trim, no transition. The shower stops being a separate "tray" inside the bathroom and becomes part of the same continuous surface.
The maintenance difference is what people notice first. A typical tile bathroom needs the silicone bead between bath and wall raked out and replaced every two to three years (it discolours and starts to harbour mould), and the grout joints needs deep-cleaning monthly, with full re-grouting roughly every five to eight years. A microcement bathroom needs none of that — wipe-down with a soft mop and pH-neutral cleaner is the entire routine. The sealer system holds for ten to fifteen years before benefiting from a refresh, and the refresh is done in place over a single day.
The one thing to specify carefully is the floor finish. A smooth microcement on a wet floor is genuinely slippery; for shower trays and wet-room floors we use stucco effect (R10–R11 slip rating) or coarse effect (R11–R12). Walls don't need slip rating, so floor and walls in the same room often use different finishes — coarse on the floor, smooth on the walls, same colour throughout. The full case for a microcement bathroom is in microcement in bathrooms; the technical specification is on the bathroom application page; and the showers application page covers walk-in geometry specifically.
2. Kitchen splashbacks and walls behind worktops
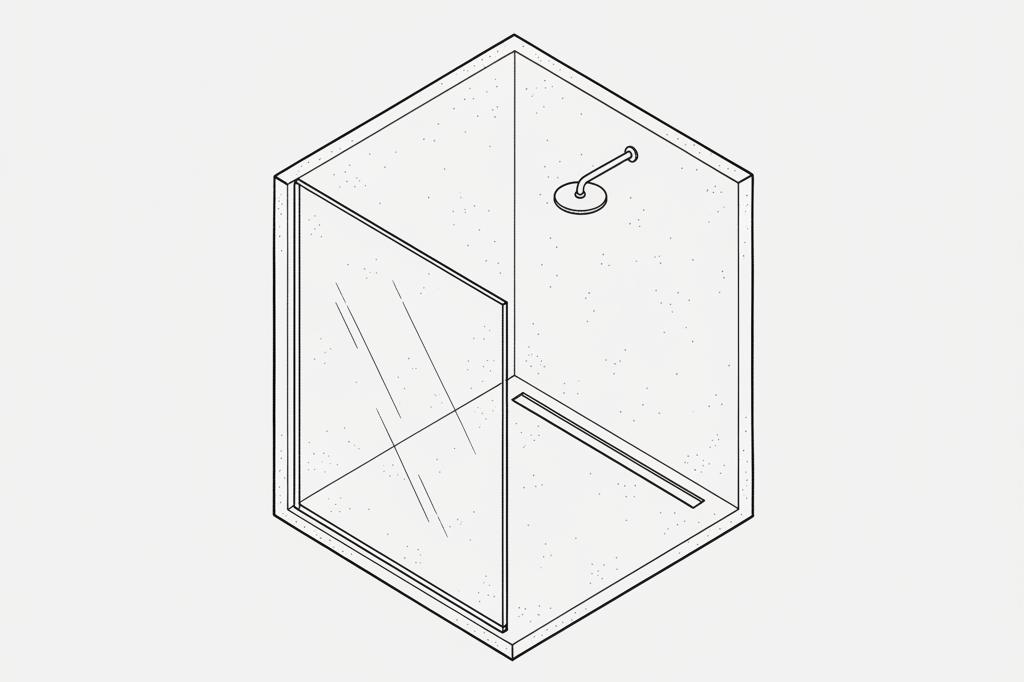
The single biggest design move in a microcement kitchen is running the same finish from worktop up the splashback and across the wall behind it. With no grout joints, splashbacks become a wipe-down surface. With no transition between worktop and wall, the room reads as one continuous gesture rather than three different materials trying to speak the same language.
Practically, this changes the cleaning routine. Tomato sauce on a tile splashback needs scrubbing in the grout joints; on microcement it wipes off with a damp cloth. Sockets and switches cut into the splashback are clean cuts in a single material rather than fiddly tile cuts around backboxes. Light hits the splashback as one surface from worktop to ceiling rather than reflecting off dozens of small tile faces.
One thing worth specifying carefully: the area immediately behind a hob. Standard worktop-grade microcement is rated to ~150°C, which is fine for the splashes and steam from cooking. For a heavy-use professional kitchen with regular splatter from very hot oil, we sometimes spec a heat-resistant grade for that one zone. For everywhere else (sink area, prep zone, kettle wall, behind the toaster), standard kitchen-grade microcement is the right answer. Microcement kitchen design covers how the whole kitchen stitches together — worktops into islands into splashbacks — and the heat and stain numbers in detail.

3. Behind a fireplace, bed or media wall
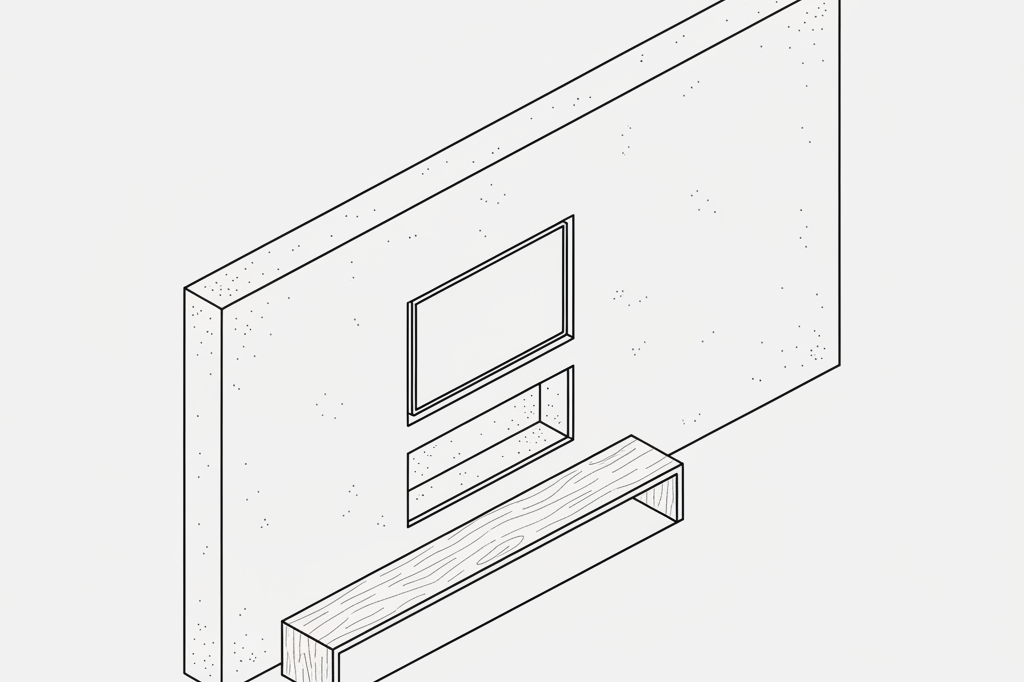
Architectural feature walls are the textbook microcement use case. Unlike paint, the hand-troweled surface has subtle directional texture that catches light differently through the day — what looks calm and uniform at midday reveals depth and movement under a wall sconce or a low evening lamp. A flat painted wall stays flat under all light; a microcement wall has a quiet, slow visual life.
The finish choice matters more here than almost anywhere else. Smooth microcement reads as quiet luxury behind a minimal contemporary fireplace or a media wall — modern, expensive-looking, no visible artisan handmark. Stucco effect reads as Venetian-plaster character behind a freestanding bed in a period bedroom — visible cloud-like trowel marks, ageing into the room rather than against it. Coarse effect is the most expressive of the three, with a real grain you can feel — best in larger rooms with directional lighting that can play against it.
Three practical things to think about before signing off the spec. First, lighting: feature walls work hardest when there's a directional light source — a recessed downlight that washes across the surface, a sconce that grazes it from the side, or natural raking light from a side window. Second, fixtures: TVs, framed art, picture lights all mount with standard fixings into the substrate behind the microcement (we leave noggins or pattress where the fixings will sit). Third, fireplace heat: gas and electric fireplaces are fine; for a wood-burner with high direct radiant heat, we add a heat-resistant grade in the immediate hearth zone (~600 mm above and either side of the firebox).
4. Hallways and entry points
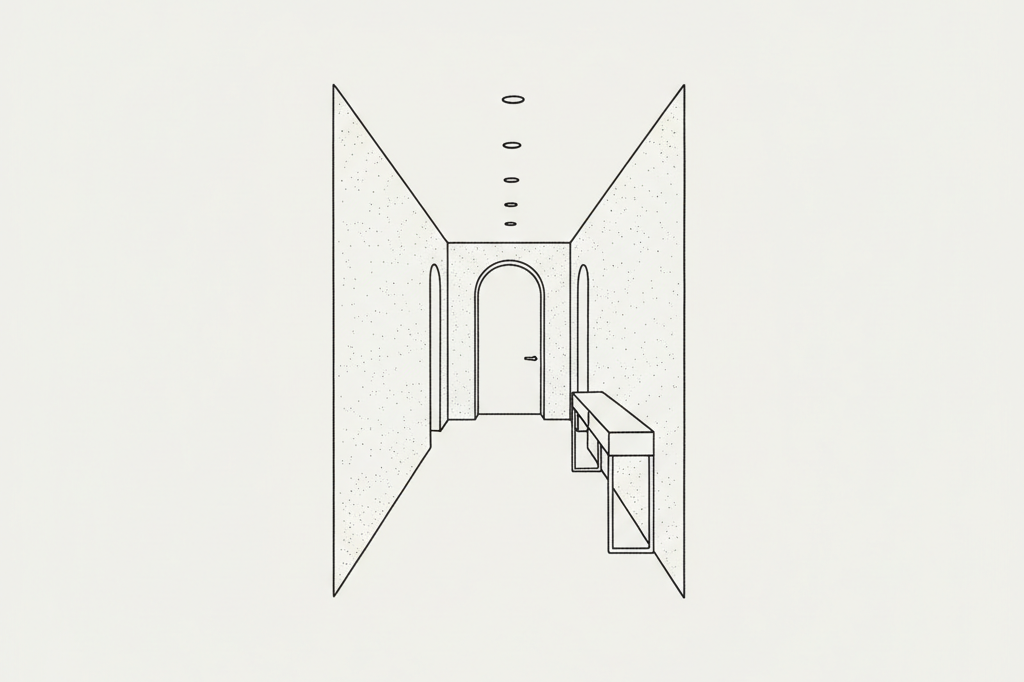
Hallways are the place painted walls age the fastest. Coats brushing past, bags being put down, prams pushed through narrow doorways, dogs shaking off rain, the corner of a chair being moved between rooms — every London hallway shows the wear inside two years. Painted hallways need touching up every 18–24 months and a full repaint every 4–5 years to stay presentable. The sealed microcement surface absorbs all of that without showing it: scuffs wipe off rather than bedding into the paint, the corner of a frame brushing the wall doesn't leave a dent, and the surface holds its appearance for the full ten-to-fifteen-year cycle of the sealer.
This is the second-most-common project we get after bathrooms, and often it's the first time a homeowner has microcement anywhere in the house. The pattern is usually: they saw it in a friend's bathroom or restaurant, lived with it for a year, then commissioned a hallway. From there it tends to grow — the hallway leads into a kitchen with microcement worktops, or extends up the staircase as microcement stairs with matching risers.
For a typical London hallway (terraced or semi-detached, ~3 m wide, walls covering 25–35 m²), the budget is £3,000–£6,000 — comparable to specifying high-end paint and panelling, but with no follow-on touch-up cost. In tight Victorian hallways the seamless surface also has a visual benefit: with no skirting break, no dado rail, and no painted-over pipe runs visible, the space reads as wider and taller than the same hallway in a busier finish.
5. Period homes and listed buildings
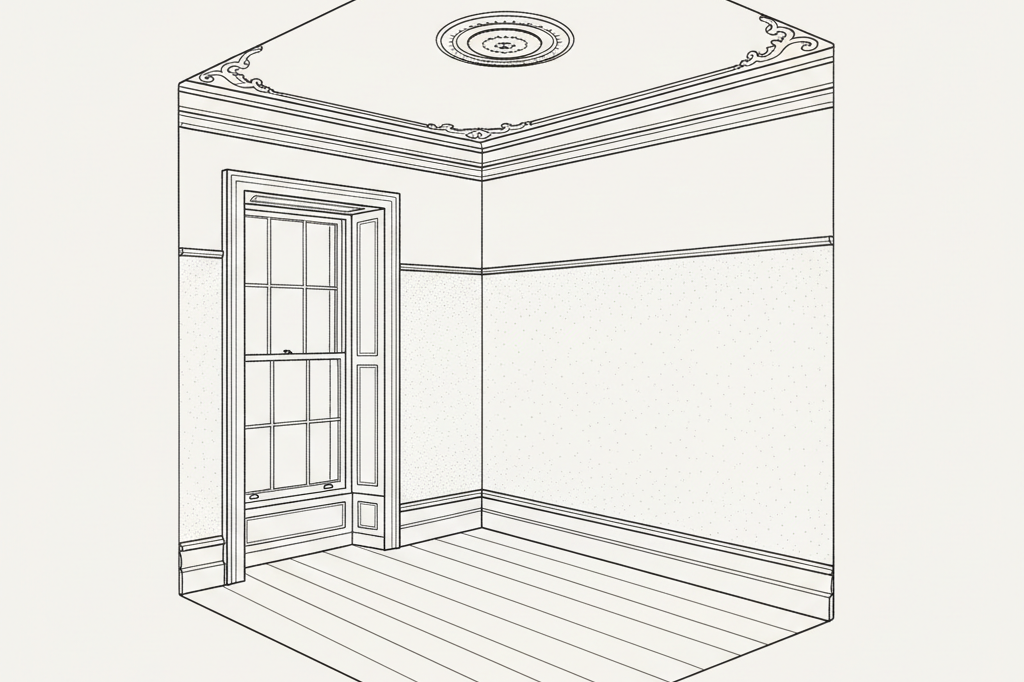
Microcement is an overlay, not a structural change. Because the system sits on top of the existing wall at 2–3 mm, it usually does not require listed-building consent for floors, walls, bathrooms or kitchens — provided we are not concealing or altering a protected architectural feature. We always recommend confirming with the conservation officer before specifying, and we are happy to walk through the proposed application with them if useful. The original lath-and-plaster, picture rails, cornice, mouldings — all stay where they are. Cornices and architraves are masked off and the microcement runs up to them; the original detail remains visible.
Three considerations specific to period homes worth raising at the survey stage:
- Damp survey first. Older buildings often have rising damp or trapped moisture in solid masonry walls. Sealing damp behind a waterproof finish doesn't fix the damp — it makes the eventual repair worse. We will not specify microcement on a wall with active damp. The fix is to address the damp, allow the wall to dry, and then revisit. The common issues guide covers what efflorescence and trapped moisture look like.
- Lath-and-plaster substrates need consolidating. Original lath and plaster walls are perfectly viable as a microcement substrate, but any loose plaster needs to be re-fixed and consolidated first. We do not apply over walls that move under hand pressure.
- Mansion-block flats need managing-agent coordination. Buildings in Westminster, Belgravia, Marylebone or Kensington usually have time-of-day delivery windows, lift booking requirements, and method-statement reviews. We supply RAMS and public-liability docs and coordinate directly with the agent.
The full system mechanics, layer by layer, are in the complete guide to microcement.
6. Outdoor walls, garden rooms and pool surrounds
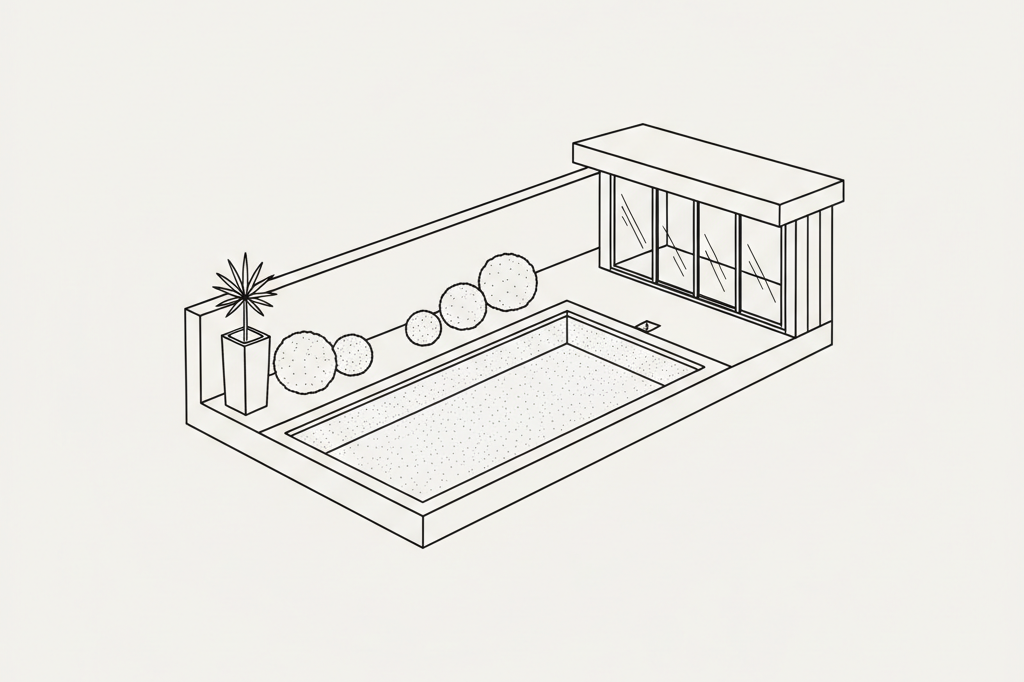
Specified with a UV- and frost-resistant grade and an exterior-rated sealer, microcement holds up well outdoors in the UK climate. The standard system is not the right grade — interior microcement chalks and yellows under sustained UV, and the standard sealer doesn't tolerate freeze-thaw cycling. The exterior grade uses different resin chemistry and an aliphatic polyurethane sealer that stays colour-stable through repeated rain–freeze cycles.
Where it works:
- Garden room walls and exterior cladding — particularly on contemporary garden offices and pool houses where a continuous mineral finish reads as architectural rather than residential. Substrate is usually render or board.
- Planter walls and integrated outdoor seating — the curved geometry case (see below) is a common move outdoors, where microcement runs from a planter face up into a bench seat in a single visual gesture.
- Pool surrounds and water features — pool-grade microcement uses a full-immersion sealer rated for chlorine and standing water. The same finish runs from the pool deck into the pool lining as one continuous waterproof gesture.
- Exterior splashes around an outdoor kitchen — the same continuity-with-the-worktop logic as the indoor kitchen splashback section.
The two failure modes to watch for outdoors are drainage and substrate movement. The substrate beneath outdoor microcement must have correct falls so water runs off rather than sitting; standing water is fine but pooled water at a low spot accelerates sealer wear. And concrete or render that's already cracked and moving will telegraph straight through the microcement, especially in winter — the substrate has to be sound first.
7. Curved geometry and architectural integration
The other thing microcement does that hard finishes cannot: it follows curves. Curved walls, alcoves, integrated benches, niches around basins, transitions from wall into ceiling, columns, half-walls — microcement handles all of these without a tile cut, a panel seam, or a paint line. If the architect drew it as a single continuous gesture, microcement is what makes it actually read that way.
Examples of architectural moves that only work in microcement (or solid plaster, which is much more expensive and less durable):
- Wall flowing into ceiling with no shadow gap or cornice — the corner gets a soft chamfer rather than a hard line, and the same finish covers wall and ceiling.
- Integrated bench seating formed from the same material as the surrounding wall — the bench and the wall behind it read as one carved object.
- Recessed niches above basins, behind beds, around fireplaces — the niche walls, ceiling and back are all the same continuous surface.
- Columns or half-walls where the curved face wraps to the back without a join.
- Curved staircase walls running with the curve — the finish bends with the wall (see microcement stairs for matching risers).
This is also where build tolerance shifts in the contractor's favour. With tile or panels, every wall has to be straight to within a couple of millimetres or the joints look bad. With microcement, the underlying wall doesn't need to be perfectly straight at all — the layered application can absorb small surface variations and still produce a finish that reads as monolithic. That makes microcement particularly forgiving on retrofits where original walls have settled or twisted slightly over a century.
If the project involves complex curves or built-in pieces, get the microcement installer involved at the design stage rather than after the joinery is in. The construction sequence — substrate, primer, mesh, base coats, finish coats, sealer — is easier when the curves and integrated elements are designed for it from the start.

And three places it is the wrong tool
Honesty section. Microcement walls are a bad answer when:
- The substrate is moving. Plasterboard with loose joints, hairline cracks that re-open every winter, expanding fixings, freshly extended walls that haven't fully settled. Microcement is rigid; any movement underneath telegraphs through to the finish as a hairline crack within months. How to know: tap the wall and listen for hollow spots, look for cracks that have been filled and re-cracked, ask the previous decorator if the wall has needed touching up. If the substrate is moving, fix the cause first or specify a flexible finish (paint, wallpaper) that can absorb the movement.
- The plaster is fresh. New plaster needs at least four weeks to fully cure (longer for solid masonry walls, where the plaster is bonded to brick that's still drying behind it), and a moisture content below 3% before we apply over it. Anything sooner and the curing plaster pushes moisture and salts into the microcement, producing efflorescence, blotching and adhesion failure. How to know: a calibrated moisture meter is the answer — visual and finger tests are not reliable. We refuse to apply over a wall that hasn't been moisture-tested.
- There is rising damp, penetrating damp, or active moisture. Sealing damp behind a waterproof finish doesn't fix the damp — it just hides it for a while, while the moisture builds up and finds another route out. Most of the time that route is the very edge of the microcement, where you'll see efflorescence (white salt deposits) appearing around skirtings six to twelve months after install. The damp has to be diagnosed and fixed first. How to know: damp-meter readings, visible salt deposits, peeling paint at the wall–floor junction, musty smell. A proper survey before we quote is non-negotiable on any wall that touches the ground or has a history of damp.
All three of these are the leading causes of the issues that show up later on bad jobs. Almost always they trace back to someone applying over a substrate they shouldn't have, either because they didn't check or because they were under time pressure. The right install starts with refusing the wrong substrate.
The decision in one paragraph
If your wall is in a wet zone, behind a feature, in a high-wear area, or part of a continuous architectural gesture — microcement is probably the right answer. If it's a quiet bedroom wall in a sound, dry, recently-decorated room, paint is doing fine and microcement is overkill. If you're not sure, the FAQ covers the most common decision questions and the cost guide sets realistic expectations on budget.