On this page
Design · 8 min read
Microcement kitchen design: worktops, splashbacks, and the case for one material
A microcement kitchen isn't a different kitchen layout. It's the same kitchen with one big difference — the worktop, the splashback and the wall behind it are all the same material, with no joins. This is what that does to a room, where it falls down, and what UK 2026 budgets look like.
The one-material kitchen
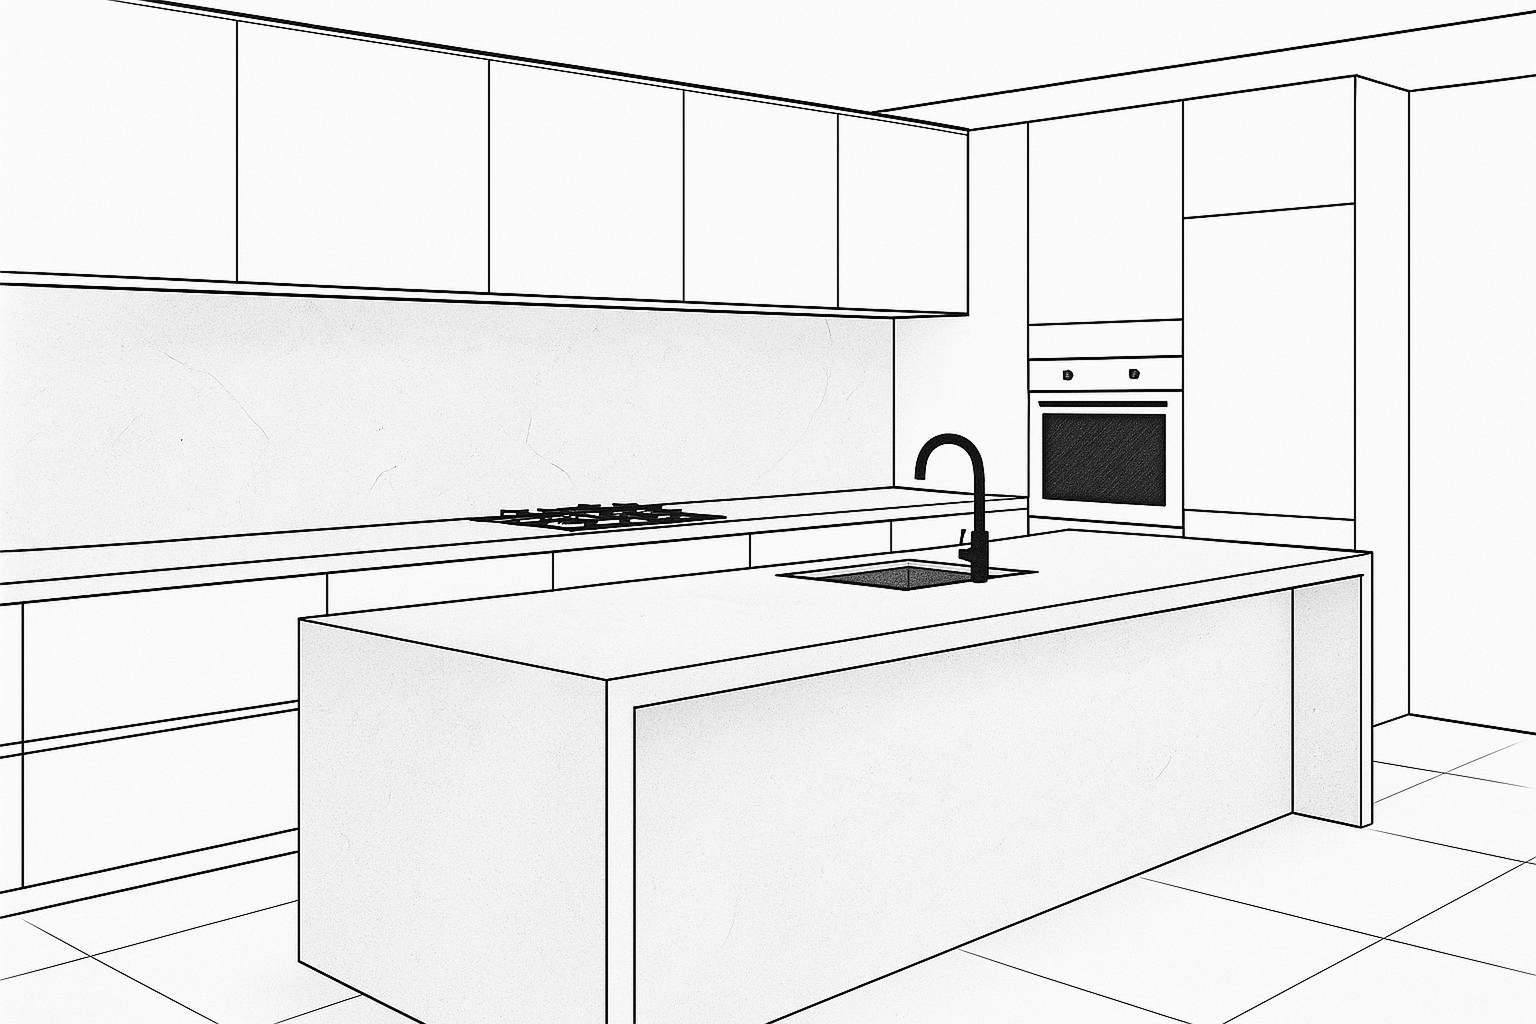
The biggest design move in a microcement kitchen is what you don't see: there are no joints between the worktop, the splashback, and the wall behind it. The same hand-troweled finish runs from the front edge of the counter, up the splashback, and across the wall — sometimes onto the ceiling and the floor too. It reads as one continuous gesture rather than four different materials trying to talk to each other.
That visual continuity is the entire design value. Stone worktops with tile splashbacks and painted walls is three transitions in two metres. Each one is a fight: matching grout colour to the worktop edge, getting the silicone bead between worktop and splashback clean and keeping it that way, deciding whether the splashback should run flush with the wall or sit proud of it, where to terminate the splashback at the cooker hood, what trim hides the cut tile edge at the wall units. A microcement kitchen has none of those decisions because there's nothing to transition between. The room reads as a single carved object rather than an assembly.
Practically that means the kitchen designer's life becomes simpler too. There's no specification chase to find a splashback porcelain that works with the worktop quartz that works with the wall paint. The tone, finish and texture are picked once, applied everywhere, and the rest of the design (cabinets, hardware, lighting, appliances) gets to be the visual story.
The trade-off — and it is a real one — is that you can't have the visual contrast between materials that some kitchens are built around. A kitchen with marble worktops, brass tap, and a tiled splashback that quotes the marble is doing something microcement can't do. If pattern-and-contrast is the design language, microcement isn't the right answer; if continuity-and-quietness is, it usually is.
Worktops
Microcement worktops are built up the same way as floors and walls — 2 to 3 mm of layers over a structural substrate, with a polyurethane sealer on top. The substrate is typically 18 mm WBP plywood, sometimes a stone composite where extra rigidity is needed (e.g. a long unsupported run, or an island with thin cantilever ends). The microcement bonds chemically to the substrate via a primer formulated for non-absorbent surfaces; the layered build hides any small variation in the substrate so the finished surface reads as monolithic.
The worktop edge can be square (sharpest contemporary look), soft-bullnose (1–2 mm radius, gentler in use), or formed to match the cabinet line below. The edges are part of the same continuous surface, not a separate trim — the microcement runs around the front face of the worktop and tucks under the substrate. This is the detail that separates a microcement worktop from a microcement-look laminate: the corners are formed, not laminated together.
What this gets you in a real kitchen, day to day:
- No drainage grooves to clean — the worktop runs flat into the basin if you're using an integrated under-mount detail. Water sheets off into the bowl rather than tracking into a grouted join.
- No silicone bead between worktop and splashback — the surface just turns the corner. Most kitchens lose their first patch of yellowing silicone within 18 months; microcement removes the entire failure mode.
- Custom shapes cost no more than straight runs — curves, peninsulas, irregular layouts, angled returns. With stone, every cut adds slab waste and template time; with microcement, complex shapes are the same price per square metre as a 3-metre straight run.
- The worktop can extend over an island as a single piece with no seam. Even a 4 m island reads as one continuous surface.
- Sockets and switches are clean cuts in a single material, not fiddly tile or stone cuts around backboxes.
- Round columns and angled returns are formed, not mitred. Anywhere two surfaces would meet, microcement just turns the corner.
One detail to specify carefully at the design stage: how the worktop terminates against the wall ovens, fridges and dishwashers. The standard detail is a clean masked stop with the microcement running right up to the appliance flange; the appliance can still be removed for service in the normal way. We see occasional kitchens where the install was rushed and the microcement was applied over the top of the appliance flange — making appliance removal a destructive job. Worth confirming at the survey stage.
Splashbacks
The splashback is where most kitchens reveal their age fastest. Tile splashbacks darken at the grout joints from cooking grease and steam, and the silicone bead between worktop and tile yellows from heat and moisture. Large-format porcelain splashbacks chip at the cut edges around sockets and outlets. Glass splashbacks are easy to clean but show every fingerprint, and the silicone seal at the worktop edge is still the weak point. A microcement splashback is the same material as the worktop, applied vertically as a continuous extension of it — wipe-clean, no grout, no transitions.
The cleaning routine on a microcement splashback is roughly: damp microfibre cloth across the surface once a week. That's it. Cooking spatter doesn't grip the sealed surface like it grips grout; tomato sauce, soy sauce and olive oil all wipe off without leaving a residue.
Specification by zone within the splashback:
- Behind the hob — heat-resistant grade microcement specified for the immediate splashback area (~600 mm wide × the height to the cooker hood). Standard worktop-grade is rated to ~150°C continuous; the heat-resistant grade goes to ~250°C, which covers heavy splatter from very hot oil. Adds £100–£200 to the project on materials but eliminates the small risk of sealer discolouration over the cooking arc.
- Sink area — standard worktop-grade with wet-zone sealer in the immediate basin surround (~300 mm). The sealer choice matters more than the microcement grade.
- Prep zone, behind kettle, behind toaster — standard worktop-grade across the whole area. No special grade needed.
- Behind a downdraft extractor — heat-resistant grade across the full vertical face the extractor pulls steam past, since the surface gets repeatedly hot from rising cooking heat.
Sockets, switches and any wall-mounted accessories are masked off and the microcement runs cleanly up to them. We coordinate with the electrician at first-fix so socket boxes are positioned and depthed for the 2–3 mm finish thickness above. For more on how the wall portion ties in elsewhere in the house, see where microcement walls earn their place.
Kitchen islands
Islands are where microcement quietly outperforms stone, and where the design difference is most obvious in person. With stone you're stuck with the slab size — anything wider than about 3.2 m needs a seam, and seams in islands are visible across the whole room because the island is the focal point that everyone gathers around. Microcement is hand-applied in continuous layers, so a 4 m island (or longer) runs as a single visual surface with no seam at all. There's a particular satisfaction to running your hand along the full length of a long island and feeling no break in the surface.
Waterfall edges — the worktop running down the sides of the island all the way to the floor — are another microcement-easy detail. With stone they require a mitred joint at each top corner that has to align perfectly with the slab veining, which is part-skill, part-luck, and adds £800–£1,500 to the cost per corner. With microcement the edge just continues; the corner gets a soft chamfer and the surface flows around it. We've done islands with double waterfall edges (both ends and the back face) where the entire island reads as one carved block.
Other island details that microcement handles particularly well:
- Integrated bench seating — a section of the island that drops in height to form a breakfast bar with a microcement bench-top in the same finish as the worktop above.
- Hidden appliance reveals — wine fridges, microwave drawers, and warming drawers can be set into the island side with the microcement running flush around the appliance face.
- Integrated planters or shelves at the end of an island — formed during application, not added afterwards, so they read as part of the island shape.
The thing to plan for: islands are typically the most-used surface in the kitchen, so the spec needs to assume heavy daily use. We use a slightly thicker substrate underneath (22 mm rather than 18 mm) on islands wider than 1.4 m to handle the cantilever and overhang loads, and the sealer is applied with three coats rather than two for the additional wear margin.
Integrated basins, sinks, and drainage
Microcement can be formed around a stainless steel or composite under-mount sink so the worktop runs straight into the bowl with no rim. The sink itself is still a separate vessel — microcement is sealed and waterproof but not the right material for the basin itself, which sees long-term standing water and impact. The surface around it is continuous; the microcement turns down into the bowl rim with a 2–3 mm chamfer and the sink is bonded into the worktop substrate with structural adhesive plus mechanical clips.
The visual difference vs an over-mount sink is significant. With an over-mount sink, the bowl rim sits on top of the worktop and you can see the line of sealant where worktop meets bowl. With an integrated under-mount detail, the worktop runs flat to the bowl edge and the only visible thing is the sink itself. From above the worktop appears to flow into the bowl.
For draining boards, we typically form shallow channels in the worktop surface itself — formed during application, not cut afterwards. The channels are 8–12 mm wide, 3–5 mm deep, and slope very slightly toward the basin so water drains back. When the worktop is dry the channels are practically invisible; when there's a wet pan or rinsed dishes sitting on them, they do their job.
Other water-related details on a microcement worktop:
- Tap holes — formed and sealed during application, with a small chamfer around the hole to prevent water tracking down the inside.
- Pull-out tap returns — coordinated with the tap manufacturer's spec sheet so the hose return point is at the correct depth below the worktop face.
- Dishwasher overflow protection — the substrate edge nearest a dishwasher is sometimes upgraded to a moisture-resistant grade of MDF or a plastic-laminated ply to handle worst-case leak scenarios.
- Boiling-water taps (Quooker, Fohen, etc.) — the small cooling area immediately around the tap base sees occasional steam and hot water spray; the standard worktop sealer handles it without issue.
Heat and stain limits — the honest version
The polyurethane sealer is what gives microcement its everyday durability, but it's also what limits its absolute temperature tolerance and stain-proof claims. The honest numbers, from real residential kitchens:
- Heat resistance: ~150°C for the standard worktop sealer; ~250°C for the heat-resistant grade specified behind hobs. A trivet under a hot pan is fine on either grade. A pan straight off an induction hob (300–400°C base) onto bare microcement will discolour the sealer in that spot — it doesn't burn through, but it leaves a permanent mark that requires re-sealing the affected area to remove. Use a trivet, like you would on quartz or laminate.
- Stain resistance — pigmented liquids: red wine, turmeric, olive oil, beetroot juice, dark vinegar, espresso coffee, soy sauce — all wipe off the sealed surface within minutes. Left overnight, the most aggressive of these (turmeric and beetroot in particular) can leave a faint shadow on lighter colours that a normal cleaner won't fully remove. Same as quartz.
- Stain resistance — chemical agents: the sealer is rated for daily kitchen use including pH 4–10 cleaners. Strong acids (limescale removers, bleach) can mark the sealer if left on. Avoid them; use neutral cleaners.
- Knife marks: the sealer is anti-scratch but not knife-proof. A blade dragged hard across the worktop will leave a mark in the sealer. Same as on quartz, granite, or laminate. Use a board, like everything else.
- Impact resistance: better than quartz, comparable to stone. A dropped wine bottle won't chip the worktop; a dropped cast-iron pan can dent the surface if the impact is right at an edge.
- Water: standing water is fine. The sealer is fully waterproof. Long-term standing water in one spot (e.g. under a wet dish rack left for days) is OK on the sealer but worth wiping up — same advice we'd give for any other sealed surface.
- Sunlight / UV: indoor UV exposure is fine. Direct sunlight through south-facing windows on darker colours over many years can cause very slight fading; we usually specify a UV-stable sealer for kitchens with strong direct sun.
None of these are uniquely a microcement problem — they're roughly the same set of considerations as quartz, composite stone, or even high-end laminate. The mistakes happen when people assume the worktop is bulletproof and skip the trivet, or think the sealer is impervious to bleach and reach for it as a daily cleaner. Treat it like quartz and it lasts as long as quartz.
UK 2026 budget for a microcement kitchen
Roughly, by scope (all installed, including substrate where applicable):
- Worktop only, 5–6 linear metres of straight run — £4,500–£9,000.
- Worktop + splashback + back wall to underside of wall units — £6,500–£12,000.
- Worktop + island + waterfall edges + splashback + feature wall — £10,000–£18,000.
- Whole-kitchen continuous (worktops, splashbacks, all walls, ceiling, floor — one finish throughout) — £18,000–£35,000.
- Bespoke detail-heavy spec (curves, integrated benches, custom colour matching, multiple finishes) — add 25–40% on top of the above.
For comparison: a similar quartz kitchen (worktops + splashbacks at 5–6 metres + island) is typically £6,000–£14,000; large-format porcelain is in the same band; natural stone (book-matched marble, honed granite) is £8,000–£25,000+ depending on the slab. Engineered composite (Dekton, Neolith) is £10,000–£20,000. Microcement competes directly with quartz on price and beats most stone alternatives on visual continuity from worktop into wall.
The lifetime cost picture is interesting too. A microcement kitchen typically wants a sealer refresh at year 8–10 (worktops are higher-wear than walls or floors) — £600–£1,000, applied in place. A quartz kitchen has minimal ongoing cost but the sealant beads at the worktop-to-splashback joint typically need redoing every 3–4 years (~£200 each). A stone kitchen needs annual sealing of porous stone (granite, marble) at ~£100/year and the sealant beads as quartz. Over 15 years the costs are within £500 of each other across these alternatives. The full breakdown is in the microcement cost guide.
When stone is still the answer
Microcement isn't the right answer for every kitchen. Three cases where we'd specify stone or another material instead:
- You want a strongly veined natural look. A piece of book-matched marble, a honed granite with mineral movement, a Calacatta with the dramatic dark veins running across the worktop and up the splashback — these are aesthetic choices that microcement deliberately doesn't try to replicate. Microcement does monolithic and quiet; if you want pattern, drama and natural variation, stone wins. Picking microcement when you really want marble produces a kitchen that disappoints both the homeowner and the designer.
- The kitchen sees professional-grade heat use. A serious home kitchen that regularly puts heavy cast-iron pans straight off the hob onto the worktop — typically because the cook moves fast and doesn't want to break flow for trivets — is a better fit for stone or stainless than microcement. Stone (granite especially) handles the thermal shock without marking; stainless is essentially indestructible at hob temperatures. Microcement can handle this with discipline, but if the discipline is going to slip, stone is the more forgiving substrate.
- You're moving in 18 months and selling. Quartz, granite and marble are the obvious quick-resale finishes — buyers recognise them immediately and they price into the valuation in known ways. Microcement is still a slight unknown for many buyers, and while it usually reads as a positive (modern, recently renovated), the resale upside is harder to predict than with established stone choices. Microcement is a better long-stay choice; if you're selling soon, the safer bet is the established material.
Two more edge cases worth flagging:
- If your kitchen design language is heritage / traditional — Shaker cabinets, brass hardware, classic English country aesthetic — microcement can read as too contemporary against the rest of the room. Honed limestone, butler's-block timber, or a traditional natural stone often sits better with that vocabulary.
- If the worktop is going to be used for high-volume bread baking or pastry work — flouring directly on the worktop, repeatedly. Marble is the traditional answer here; the cool surface holds dough at the right temperature. Microcement is OK but doesn't have the same thermal-mass benefit.
If microcement is the answer for your project, the microcement worktops application page has the technical specification, and the FAQ covers the questions worth asking before you commit.