On this page
Guide · 9 min read ·
Microcement Floors: Substrates, Build-Up, Wear and Cost
A microcement floor is a 2–3 mm cement–polymer system laid over your existing floor — primer, mesh, two base coats, two finish coats and a floor-grade sealer — at £120–£200/m² in our cost guide. It works over sound screed, tiles, overboarded timber and commissioned underfloor heating, and it is only ever as stable as the floor beneath it.
It is the same material as the walls, specified harder and built thicker to take foot traffic. This is the reference for the floor searches: how the system goes together layer by layer, which substrates it sits on, which sealer grade your traffic demands, how a floor wears, and where the cost actually moves.
What a microcement floor is
A floor is the same build-up as a wall, but every layer is chosen for what a floor does: it is walked on, dragged over, and washed. The total thickness stays around 2–3 mm, which is the point — it rides on the floor that is already there rather than replacing it.
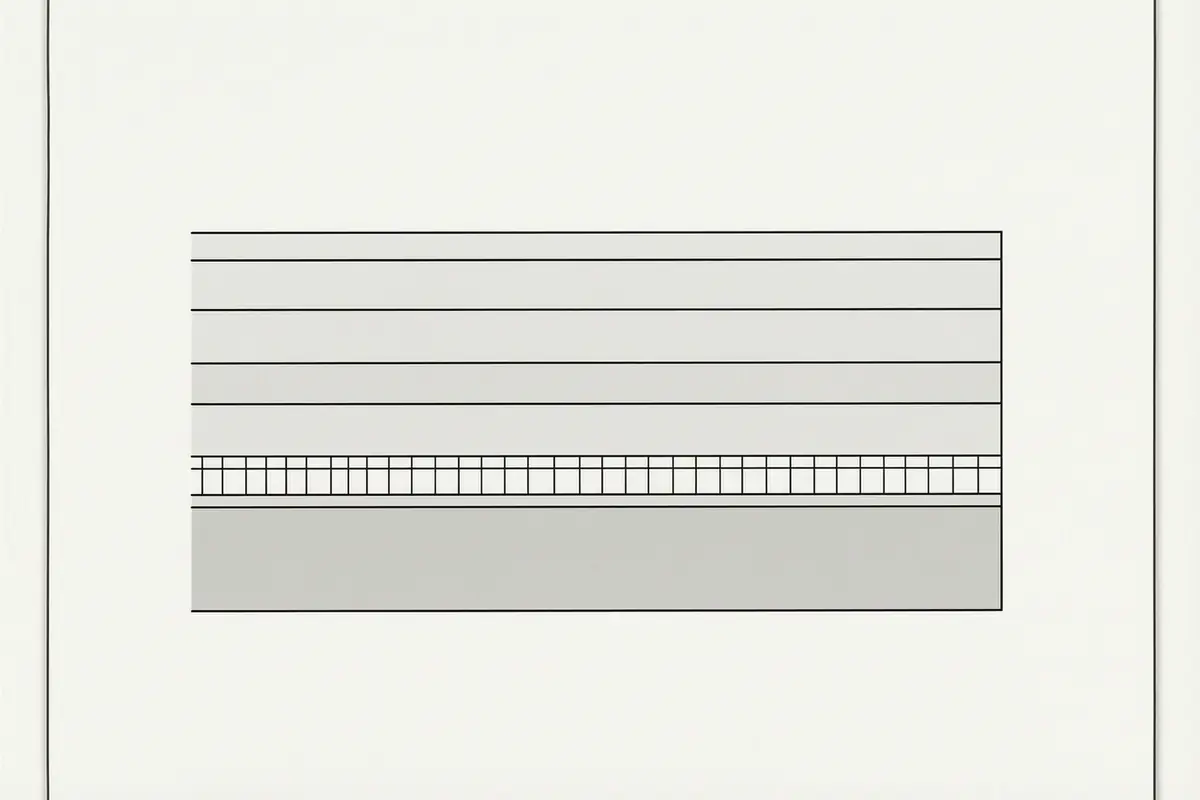
The build-up, bottom to top, is the primer that bonds to the substrate, a fibreglass mesh embedded in it, two base coats that carry the body, two finish coats that carry the colour and texture, and a polyurethane sealer that carries the wear. Each layer does one job, and the floor is only as good as the weakest one. The full system is described in our complete guide to microcement, and the installed spec is on our microcement flooring page.
Microcement is not one chemistry. Mono-component acrylic is the DIY-friendly option — easy to work but soft, so it belongs on walls rather than underfoot. Bi-component systems, where a resin is mixed with a hardener on site, are the floor-grade option, and epoxy versions of them are what we specify for high-traffic floors; they are pro-only, not a weekend job. A floor is always a bi-component or epoxy system, never the single-pack acrylic.
The substrates it sits on
A floor is the most demanding surface microcement goes over, because it moves and it is loaded. Before we prime anything, we run the same checks on every job:
- Sound, cured screed — the baseline. We grind off the laitance and check moisture, then prime and go.
- Existing tiles — we tap-test every tile, fill the grout lines flush and prime with a non-absorbent primer. The full overlay system is in microcement over tiles.
- Timber floorboards — boards flex, so they are overboarded with ply first to make one rigid plane. The joins and screw holes are filled flush and left to dry before mesh goes down.
- Prepared concrete — ground open and clean, then primed for its porosity.
- Underfloor heating — same system, heavier mesh, and the heating commissioned and cycled first.
The check that decides most floors is moisture. A cement screed has to read below 3% and an anhydrite screed below 0.5% before we prime, and a fresh screed has to finish curing — around 4 weeks for anhydrite, 6–8 weeks for sand-and-cement. Prime a floor that is still drying and the moisture comes up through the coat and lifts it. That single reading is where most failed floors start, and it is the first thing we measure at survey.
Primer and mesh: the two layers that stop cracks
The primer is chosen for the substrate, not for the room. Absorbent floors — screed, concrete, anhydrite — take an absorbent-substrate primer that soaks in and grips. Tiles take a non-absorbent primer that bonds to the glaze. One primer for everything is the cheap shortcut, and on a floor it shows up as the finish lifting in sheets.
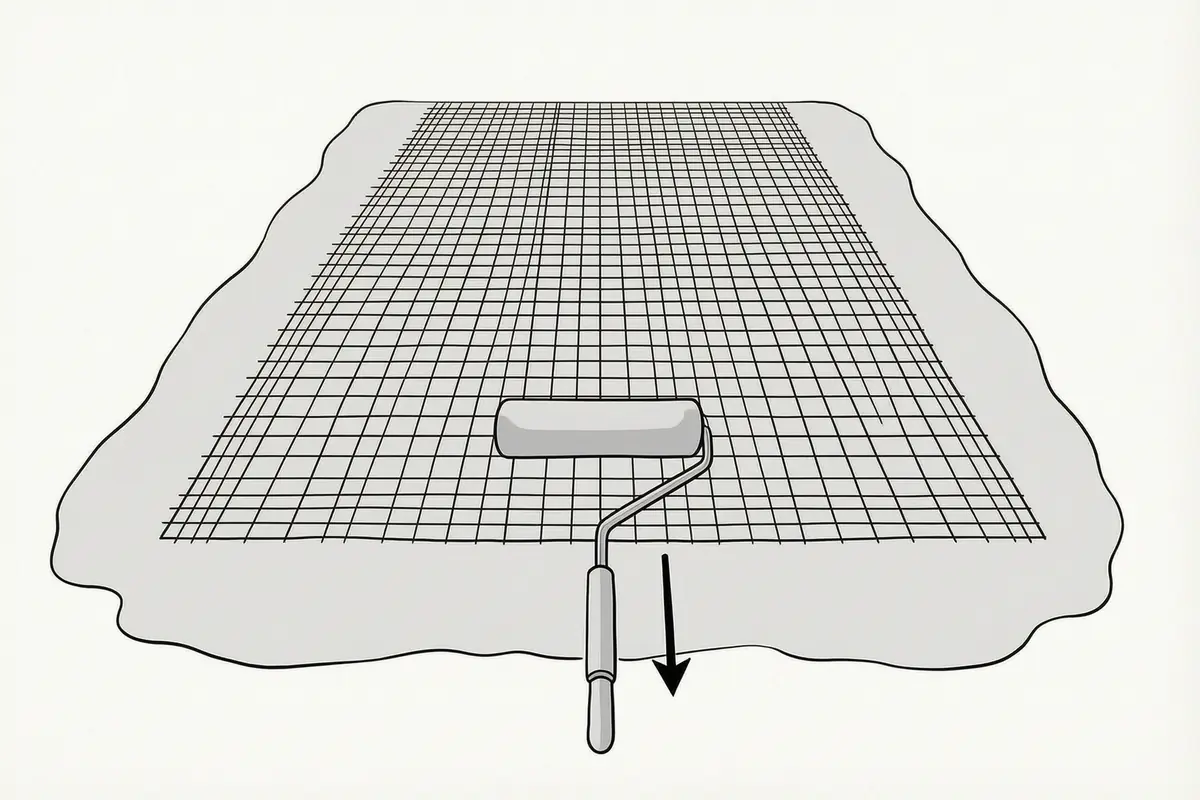
The mesh is what stops a crack in the substrate becoming a crack in the floor. We lay 60 g/m² alkali-resistant fibreglass mesh over a standard floor, and 100 g/m² over underfloor heating or anything likely to move, embedding it in the wet primer with a mesh roller and overlapping the joints. It spreads any residual movement across the whole surface instead of letting it concentrate along one line. Skipping it saves a few pounds a metre and hands you a crack six months later.
Base and finish coats: body and face
The base coats are the body. Two coats, each 0.5–1 mm, laid with a stiff steel trowel, with 24 hours between them and a light sand in between. They build the flat, continuous plane the finish coats sit on, and they are usually a slightly different colour from the top so the installer can see where the finish coat is thin.
The finish coats are the face. Two coats, each 0.3–0.5 mm, laid with a flexible trowel, and this is where the colour and the texture are decided — smooth, stucco effect or coarse, depending on how the trowel is worked. Another 24 hours between them, and a light sand with a fine pad. On a floor the texture is not just looks: a coarse finish gives grip underfoot in a wet room, where a smooth finish belongs on the walls.
Sealer grades for traffic
The sealer is the layer that actually takes the wear. Bare microcement is hard but porous; it is the polyurethane on top that takes the scuffing, the dirt and the moisture, and the grade is chosen for what the floor will meet:
- Standard floor PU — dry rooms, normal domestic traffic.
- Wet-zone grade — bathrooms and shower floors, where the floor is wet and cleaned often.
- Heated-floor grade — over underfloor heating, so the sealer moves with the thermal cycle.
- Anti-slip finish — an additive or a coarser texture for a wet or entrance floor.
Two coats go on, with a recoat window of 4–24 hours between them so they bond chemically. After the final coat, light foot traffic is fine after 24–48 hours, normal use after about a week, and water exposure after two weeks. Count the whole job up and a typical floor is about five to seven days on site, then a week before normal use. The sealer, not the cement, is what you are living on — and it is the part that gets refreshed, not replaced.
Underfloor heating
Microcement works over underfloor heating, but the order matters. The heating has to be fully commissioned and cycled before we start — brought up at about 5 °C a day to 26 °C, held for around two weeks, then cooled fully — so the floor has done its moving before the finish goes on. We upgrade the mesh to 100 g/m² and use a heated-floor sealer so the top coat moves with the thermal cycle instead of cracking against it. The commissioning sequence and the spec decisions are covered in our underfloor heating guide.
Thresholds, skirting and edges
At 2–3 mm, a microcement floor barely changes the floor level, which is most of the point — doors and thresholds usually stay put. The edges are where the detail lives. Where the floor meets a door threshold we run the coat to the edge and seal the junction cleanly; where it meets a skirting board we either run the floor up the skirting as a small upstand or cut a crisp line against it, depending on the room.
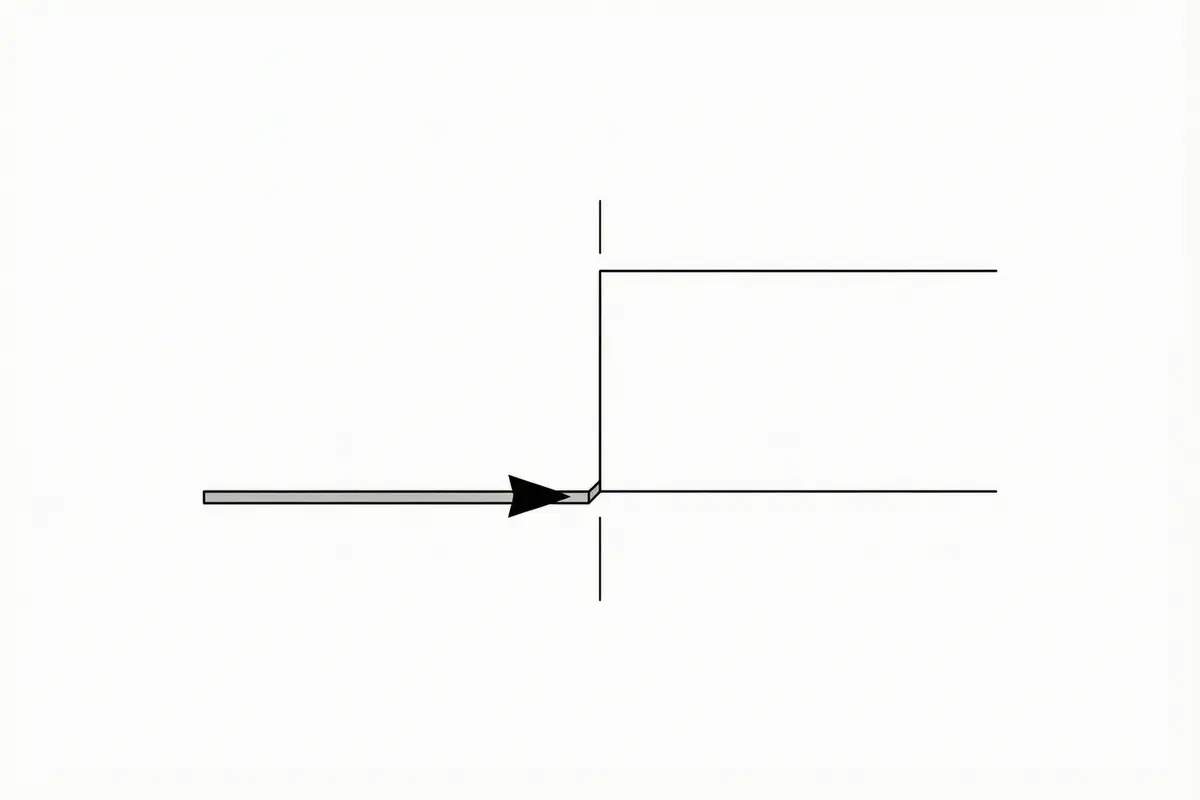
The judgement call is consistency: a floor that stops clean at the skirting reads as a floor; one that runs up the wall a few centimetres reads as a wet room. We decide it room by room, and it is the kind of decision that separates a floor that looks specified from one that looks applied.
How a floor wears, and what shows first
A microcement floor does not wear evenly. The traffic lanes — the path from the door, the route around a kitchen island — dull first, and what you are seeing is the top coat giving up its shine under repeated scuffing. The colour and texture underneath are untouched. In a busy household we plan a sealer refresh around year ten to twelve, done in place in a day, with no demolition — the base layers stay down and only the top coat is renewed. It is the difference between a floor you live with and a floor you replace.
The cost variables
The headline band is £120–£200/m² for a microcement floor, full system, materials and labour, from our cost guide. That is the installed price — primer, mesh, all four coats, a floor-grade sealer and our labour — which is why it reads higher than a materials-only figure. What moves a quote is the substrate, not the rate. A sound cured screed costs nothing extra; a cracked-but-sound screed adds £15–£30/m² of grinding and crack repair; over sound tiles you save the £20–£40/m² a rip-out would cost; and timber that needs overboarding adds £25–£45/m² of ply supplied and fitted. The floor-specific numbers, by project size and against polished concrete, resin and porcelain, are in our microcement floor cost guide.
Frequently asked questions
Can microcement go over any floor?
Over any sound, stable floor, yes — screed, tiles, overboarded timber and concrete all take it. What it cannot take is a floor that is still moving or still drying. The substrate has to be stable and the moisture below the limit for its type, or the finish will lift or crack no matter how well it is laid.
How thick is a microcement floor?
Around 2–3 mm in total, across primer, mesh, base coats, finish coats and sealer. That is thin enough that doors, thresholds and skirting usually stay where they are, which is why the overlay works so well in renovations where a polished concrete slab is impossible.
Will the floor crack?
Only if the floor beneath it moves. The mesh spreads residual movement so it does not concentrate into one crack, but a substrate that is still settling or still drying will crack the finish. This is why we test moisture and movement before a single coat goes down.
Is a microcement floor waterproof?
Water-resistant with the right sealer, not waterproof on its own. A wet room or shower floor needs a wet-zone-grade sealer and a slip-rated finish; a dry room takes standard floor PU. The sealer is what keeps the water out, and it is chosen for the room.
How long before I can walk on it?
Light foot traffic after 24–48 hours, normal use after about a week, and water exposure after two weeks while the sealer reaches full cure. We mask the room for the first two days so dust and footprints do not mark the surface before it is hard.
How long does a microcement floor last?
The base layers stay down indefinitely on a stable floor; in a busy household we plan a sealer refresh around year ten to twelve, done in place in a day. The floor itself is not replaced — only the top coat is renewed.