On this page
Guide · 9 min read ·
A Microcement Bath: Coating a Tub, Building One, and What Lasts
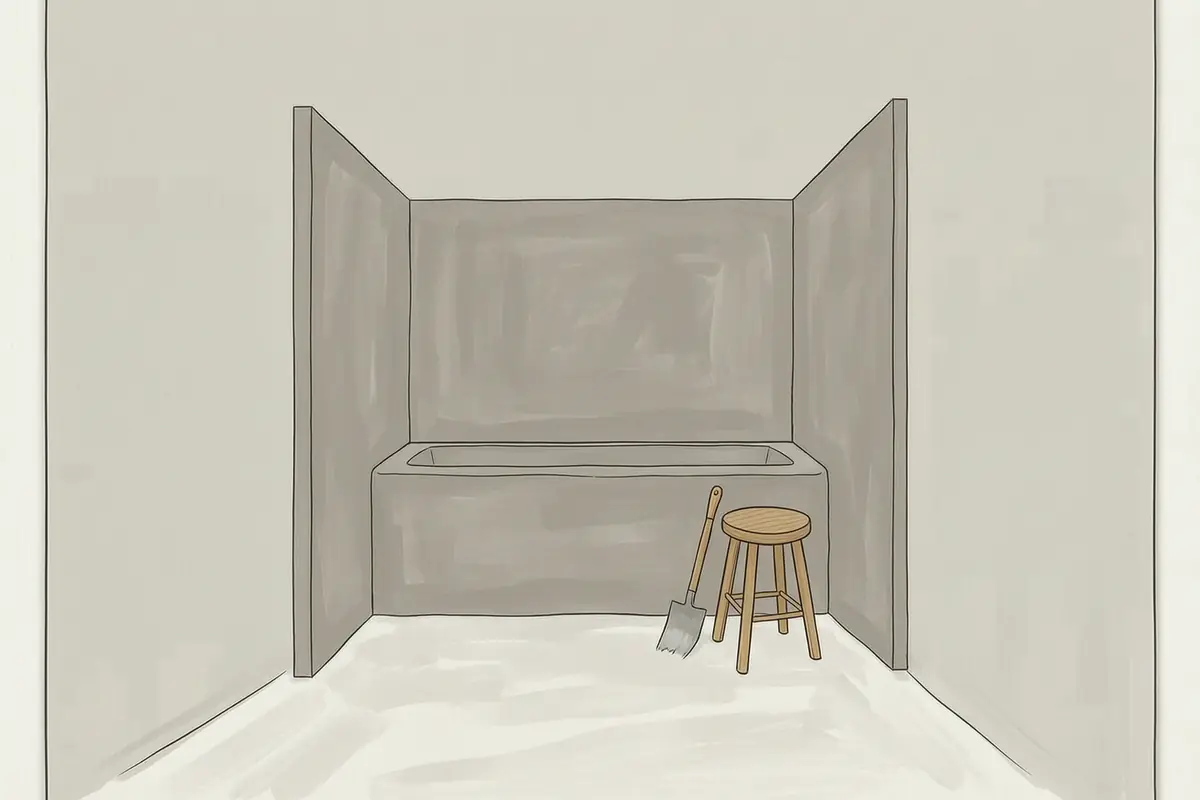
A seamless, concrete-look bath is one of the most striking things microcement can do, and the question behind it is always the same: can I coat the bath I already have, or do I need to build one? The answer is not a simple yes — it depends on what your tub is made of, whether it is still sound, and whether you are prepared to wait for the sealer to cure before the first bath.
The plain answer: yes, a sound bath can be coated with microcement, and a built plinth bath is the stronger, longer-lived option — but a flexible or damaged tub will crack the finish within months, and the wet-zone sealer needs about 48 hours before first use and about seven days before it faces standing water. If you want a bespoke built bath, expect it to sit in the furniture band of our cost guide at £200–£350/m²; coating an existing tub is the finish alone, so it sits in the walls band of £100–£180/m² — roughly half.
Coating a bath or building one: the two routes
There are two genuinely different jobs hiding behind “a microcement bath”, and they are not interchangeable. Coating is taking the tub you already own and carrying the finish over its outside face and rim. Building is forming a new bath — usually a plinth with a basin set into it, or a freestanding shell — and finishing the whole thing in microcement so it reads as one solid piece.
The difference is what the finish is stuck to. A coated bath is only ever as stable as the tub underneath it, and that is where most failures begin. A built bath is made for the finish: the substrate is chosen, reinforced and waterproofed before a single coat goes on, so the microcement is not asked to hold a flexing shell together. Coating is cheaper and faster because the tub stays put; building is stronger because nothing under the finish can move.
What the finish is built on
Microcement bonds to sound, rigid surfaces — concrete block, cement board, a resin or GRP shell, and a well-fixed acrylic or steel bath. What it will not survive is movement. An acrylic tub flexes when you fill it and lean against it; a steel bath rings and moves at its fixings. If the shell under the finish can bend, the finish cracks, and no sealer on top will stop that.
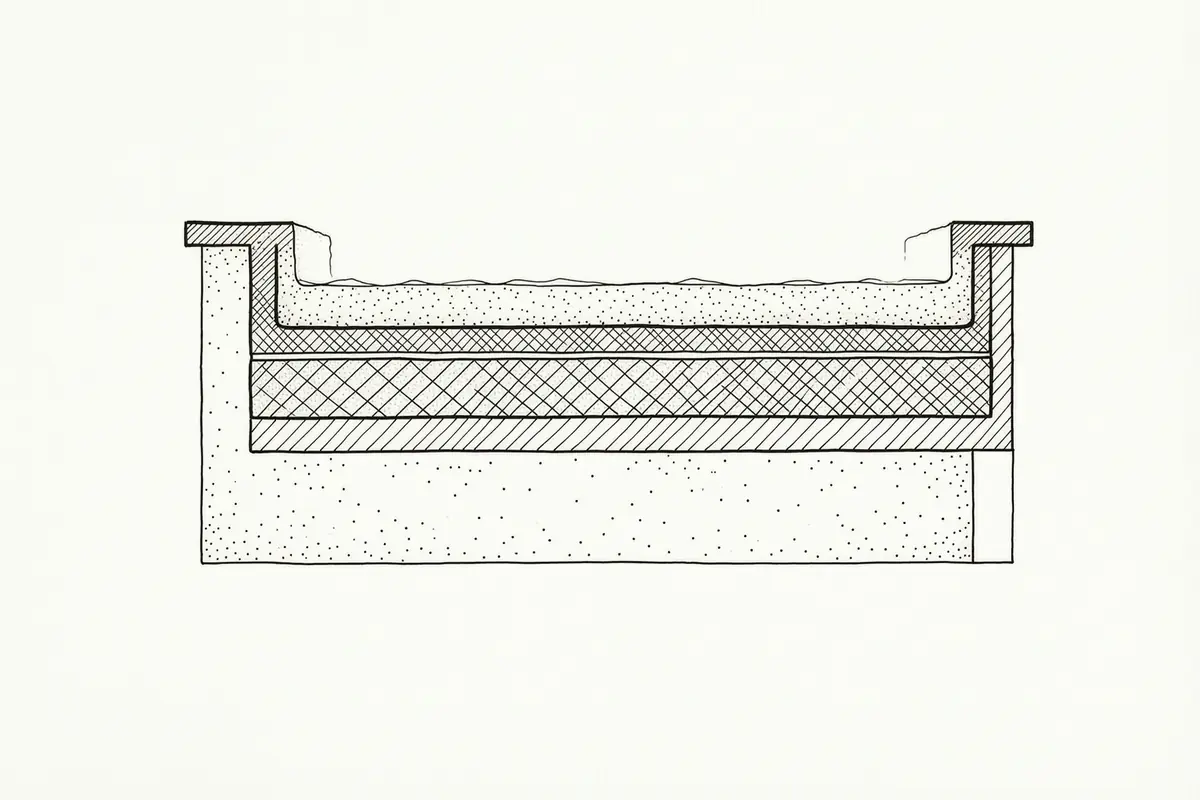
That is why a built bath is the honest long-term answer. The build is a short, specialist sequence: a timber or block frame carries rigid cement board; every board joint is taped and sealed so the substrate is watertight before any finish goes on; a fibreglass mesh is bedded over the whole shell; then the two base coats and two finish coats go on in the same order as a coated tub, and the wet-zone sealer closes it. A coated bath gets the same mesh and coats, but it can only ever be as good as the tub it is wrapped around.
Coating an existing bath, step by step
Step 1 — Clean and key the surface
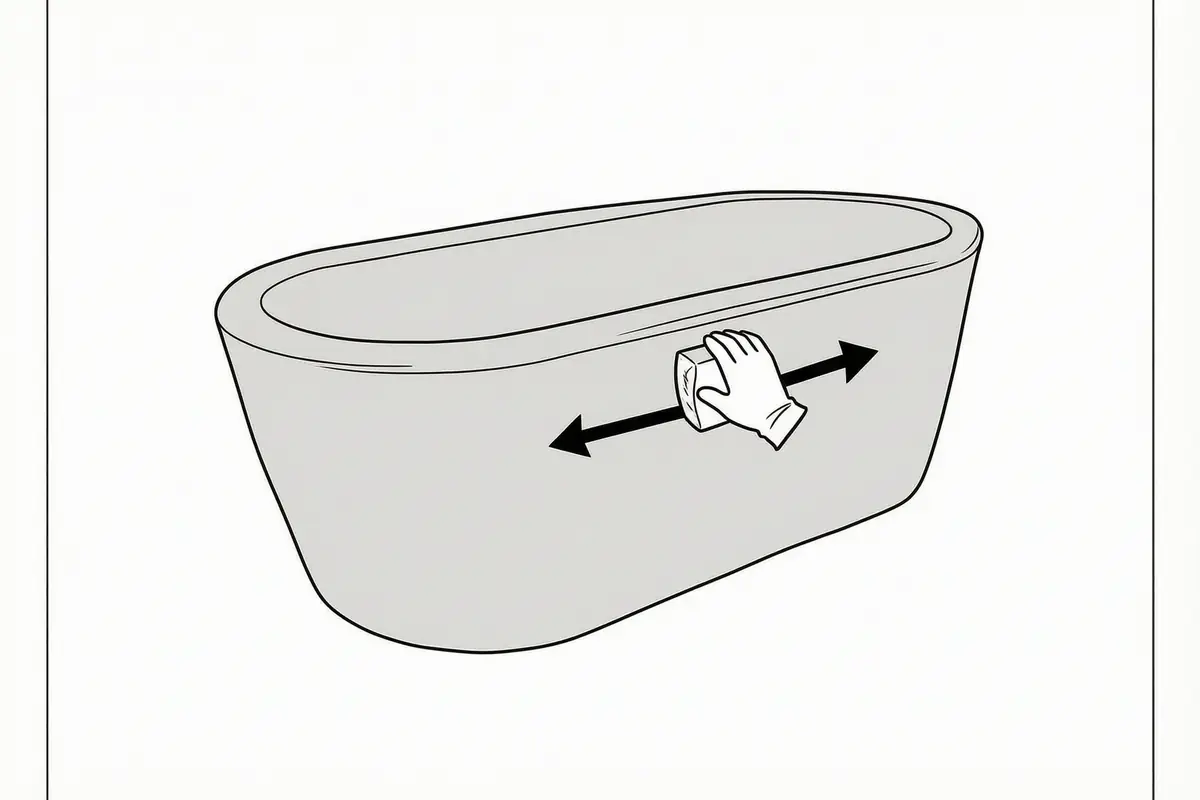
Strip the tub back to a clean, dry surface. Soap film, silicone residue and old polish will defeat any primer, so we wash the whole face with a degreaser, rinse it, and let it dry completely. Then we key it — a light mechanical sand across the outside face and rim — so the primer has something to grip. Any chips or cracks are filled and sanded flush first; a scratch left under the finish will telegraph through as a line within months. The tub is dry and dull to the touch when this step is done.
Step 2 — Prime and bed the mesh
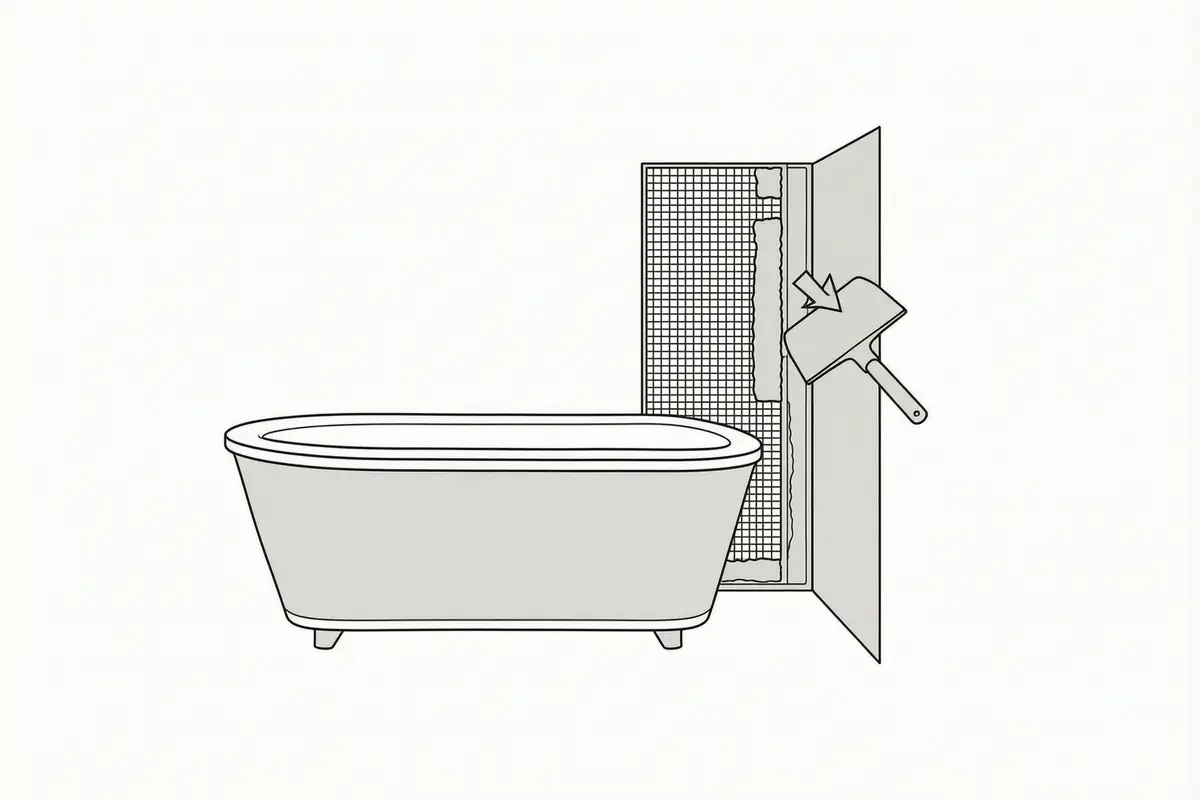
A primer matched to the shell — non-absorbent for acrylic or steel, absorbent for board — goes on in a thin even coat and is left to cure. While it is still workable we bed a fibreglass mesh over the whole face and around the rim, pressing it into the primer so it sits flat with no wrinkles. The mesh is the part that stops hairline cracks tracking through from the tub, so it is not a step to skip or skimp on. A bare patch of unmeshed tub is where the first crack will start.
Step 3 — Build the base and finish coats
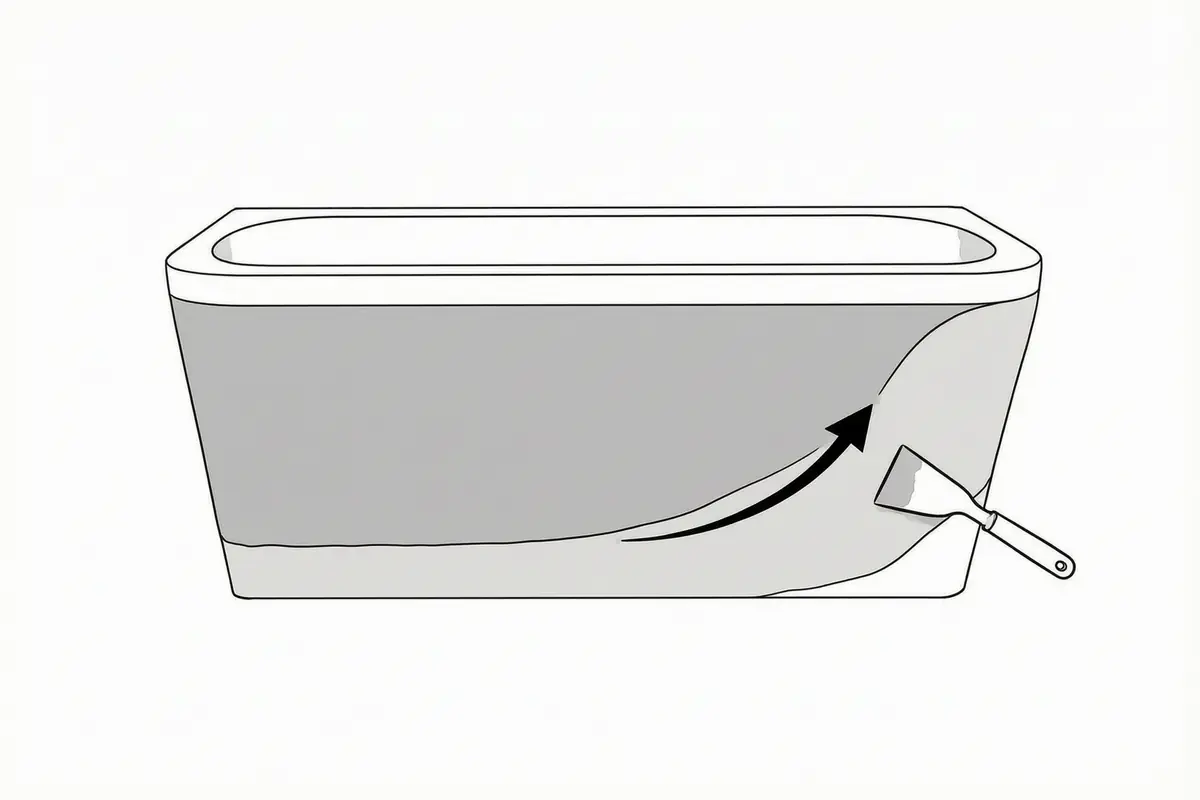
Two base coats build the body of the finish, each troweled on thin and left to cure before the next. Then two finish coats carry the colour and texture, worked smooth or lightly textured to match the room. Anything more than 3 mm out of flat is sanded back between coats so the finished plane is continuous. The whole build ends up around 2–3 mm thick, which is why the tub’s fixings and rim usually still fit — but the added depth has to be checked against the tap, waste and panel, not assumed.
Step 4 — Seal and wait for the cure
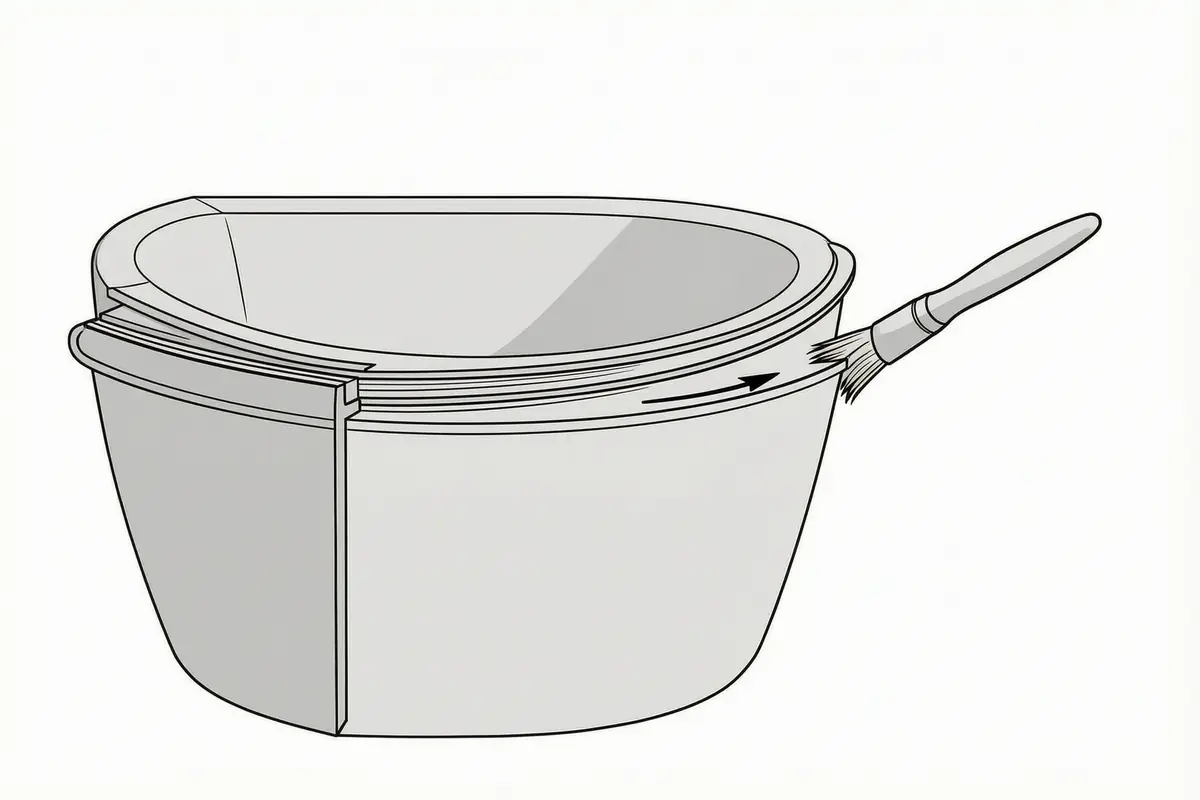
The sealer is what makes the finish water-resistant, and on a bath it must be wet-zone grade — the same chemistry we use in showers, not the standard interior sealer. Two coats go on, the second only after the first has cured, worked into every pore with a brush rather than a roller. Then the waiting matters more than anything else: the sealer needs about 48 hours before the bath is used, and about seven days before it faces standing or permanent water. Rush it and you seal the moisture in, not out.
Waterproofing under the finish
The sealer is only half the story. On a built bath, the waterproofing is a system: the plinth or shell is boarded and every joint taped and sealed before the microcement goes on, so the finish is a cosmetic and wearing layer over a continuous, watertight substrate. On a coated bath there is no such layer to fall back on — the tub itself is the waterproofing, and the sealer is what keeps water out of the finish.
That is the quiet reason a built bath lasts and a coated one is a judgement call. If the tub is sound and rigid, coating works because the sealer has a stable surface to sit on. If the tub flexes or the shell is already cracked, the sealer is being asked to waterproof a surface that is moving underneath it, and it will fail at the same line the tub does.
The sealer and how long it needs to cure
The sealer on a bath is doing constant, warm, wet work, so its cure is the one number you cannot shortcut. Two coats, with the second laid only after the first has fully cured, then about 48 hours before the bath is filled and about seven days before it holds standing water for long stretches. That is a datasheet figure, not a guess, and it is the difference between a finish that shrugs off a daily soak and one that blisters in the first month.
It also means a bath is not a weekend job. The coating itself is a few days; the cure is the part that cannot be compressed, and a quote that promises the tub usable in a day or two is skipping the one stage that makes the whole thing work.
Hot water and cleaning
A properly sealed microcement bath handles hot bath water without complaint — the sealer is rated for exactly that. What damages it is not heat but chemistry. Clean with water and a neutral soap, and avoid anything alkaline: chlorine, bleach and ammonia attack the sealer over time, and an abrasive pad scuffs the surface and opens it to water. In London’s hard water the real maintenance topic is limescale, which sits as a faint haze on the surface; a soft wipe-down after use keeps it invisible, far more easily than on grout.
The rule is the same on every bathroom job: treat the sealer as the finish it is. A neutral cleaner and a soft cloth, never a scourer, and the surface stays watertight for years.
When a coated tub is the wrong idea
Coating is not always the answer. We would recommend against it when:
- The tub flexes visibly when you fill it or lean on it — acrylic shells that move will crack the finish.
- The shell is already cracked, chipped through, or rusting at the fixings — the microcement inherits the damage.
- The bath is a thin, low-grade shell with no rigidity — the finish is only as stable as what it is stuck to.
- You want the bath to last decades without a second thought — then a built bath is the honest choice.
In those cases the right answer is to build a plinth bath instead, or to leave the tub alone and spend the budget on the walls and floor around it. The finish is a skin, not a structure — the same principle we cover in common issues and how to avoid them. And coating a tub is not a DIY job: the primer, mesh and wet-zone sealer have to be matched to the shell and laid in the right order, so the moment you are unsure of the substrate is the moment to stop and call a specialist.
Frequently asked questions
Can you microcement over an acrylic bath?
Yes, if the shell is rigid and sound. Acrylic flexes when filled, so we test for movement first; a tub that bends under load will crack the finish within months. A well-braced acrylic bath, keyed and primed correctly, takes the coating well.
How long before I can use a microcement bath?
About 48 hours after the final sealer coat before first use, and about seven days before it faces standing water. That is the sealer’s cure, and it cannot be rushed without trapping moisture in the finish.
Is a microcement bath waterproof?
The sealer makes it water-resistant, not indestructible. Wet-zone sealer over a rigid, waterproof substrate is what keeps water out; a flexing or cracked shell will defeat any sealer, so the substrate is the real waterproofing.
How do you clean a microcement bath?
Water and a neutral soap, with a soft cloth. Avoid chlorine, bleach, ammonia and abrasive pads, which attack the sealer. In hard-water areas a soft wipe-down after use keeps limescale from building up.
Does a microcement bath crack?
Only when the substrate moves. A built bath on rigid board with mesh rarely cracks; a coated bath cracks if the tub underneath it flexes. That is why we test for movement before coating anything.
How much does a microcement bath cost?
A bespoke built bath sits in the furniture band of our cost guide at £200–£350/m². Coating an existing tub is the finish alone, so it sits in the walls band of £100–£180/m² — roughly half the built rate, because the tub stays put and the work is the finish alone.