Microcement Tools and Equipment Guide: Everything You Need for Professional Results
Complete guide to microcement tools, equipment, and kits for both DIY enthusiasts and professional installers in London and Surrey
Achieving professional-quality microcement finishes requires the right tools and equipment, whether you’re a DIY enthusiast tackling a small project or a professional installer working on large-scale applications. The success of any microcement project depends not only on the quality of materials but also on having the proper tools to apply them correctly.
This comprehensive guide covers everything you need to know about microcement tools, from basic application equipment to specialized professional-grade tools. We’ll explore what’s included in microcement kits, essential tools for different applications, and where to source quality equipment for your projects in the UK.
Understanding the right tools for microcement application can mean the difference between a smooth, professional finish and a disappointing result that requires costly remediation.
Essential Microcement Tools Overview
Basic Application Tools
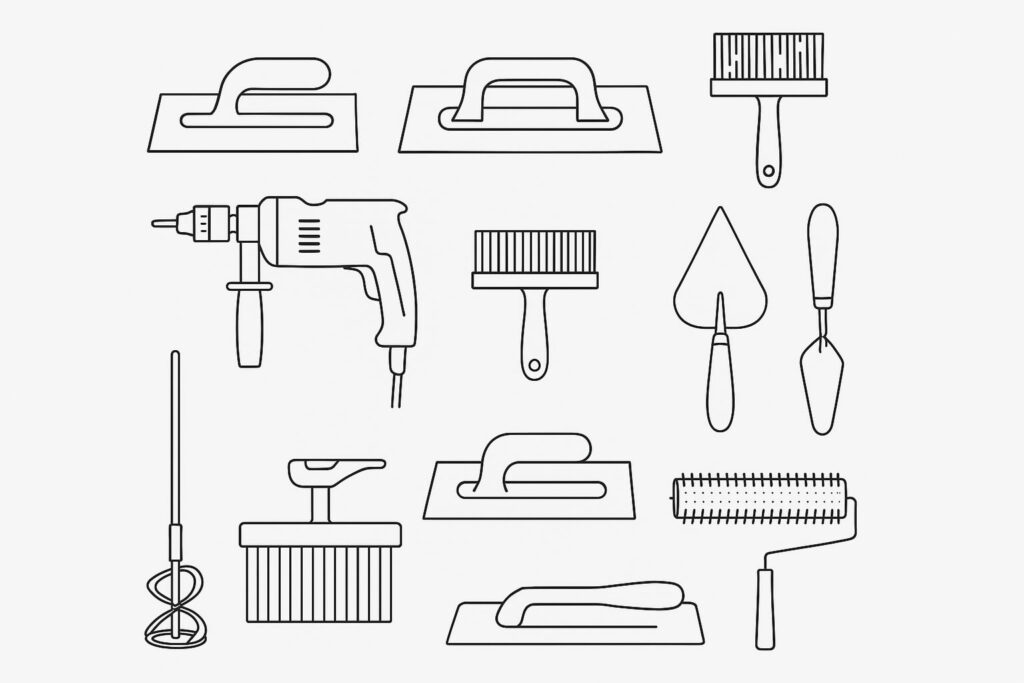
The foundation of any microcement toolkit consists of several essential items that are crucial for proper application and finishing.
Trowels and Floats: The most critical tools for microcement application are high-quality stainless steel trowels and plastic floats. Professional installers typically use flexible stainless steel trowels in various sizes (200mm, 250mm, and 300mm) for different areas and applications. The flexibility of the trowel is crucial for achieving the smooth, seamless finish that microcement is known for.
Mixing Equipment: Proper mixing is essential for microcement performance. Low-speed paddle mixers (300-400 RPM) are preferred over high-speed mixers, which can introduce air bubbles and affect the final finish quality. Professional-grade mixing paddles designed specifically for cement-based materials ensure thorough, consistent mixing without compromising the material properties.
Brushes and Rollers: High-quality synthetic brushes and short-nap rollers are essential for applying primers and sealers. Natural bristle brushes should be avoided as they can leave marks in the finish. Professional installers often use specialized microfiber rollers for sealer application to achieve uniform coverage.
Specialized Professional Equipment
Professional microcement installation requires additional specialized equipment that ensures consistent, high-quality results across larger projects.
Spray Equipment: For large-scale applications, professional spray equipment can significantly improve efficiency and finish quality. HVLP (High Volume Low Pressure) spray systems are preferred for applying primers and sealers, providing even coverage and reducing application time.
Grinding and Preparation Tools: Surface preparation often requires specialized grinding equipment. Diamond grinding discs, scarifying machines, and dust extraction systems are essential for preparing existing surfaces to receive microcement. Proper preparation is crucial for long-term adhesion and performance.
Measuring and Testing Equipment: Professional installations require precise measurement tools including digital scales for accurate mixing ratios, moisture meters for substrate assessment, and pH testing kits to ensure proper surface conditions before application.
Microcement Kits: What’s Included and What You Need
Complete Starter Kits
Microcement kits provide an excellent starting point for both DIY enthusiasts and professionals new to the material. Understanding what’s typically included helps you assess whether a kit meets your project requirements.
Standard Kit Contents: Most quality microcement kits include the base microcement material, primer, sealer, and basic application tools. The quantity is usually calculated for specific coverage areas, typically ranging from 10-50 square meters depending on the kit size.
Material Components: A complete kit should include appropriate primers for your substrate type, sufficient microcement for the recommended number of coats (usually 2-3), and a high-quality protective sealer. Some kits also include color additives or texture enhancers for customization.
Basic Tools Included: Entry-level kits often include basic plastic trowels, mixing buckets, and application brushes. While these tools are adequate for small projects, larger or more demanding applications may require upgrading to professional-grade tools.
Professional vs DIY Kits
The choice between professional and DIY kits depends on your project scope, experience level, and quality expectations.
DIY Kit Advantages: DIY kits are designed for ease of use, often including simplified mixing ratios and user-friendly application instructions. They typically cover smaller areas and include everything needed for basic applications. The materials are often formulated to be more forgiving of application variations.
Professional Kit Benefits: Professional kits offer superior material quality, larger coverage areas, and more sophisticated formulations that provide enhanced durability and finish quality. They often include technical data sheets, detailed application specifications, and access to technical support.
Cost Considerations: While professional kits have higher upfront costs, they often provide better value per square meter and superior long-term performance. DIY kits may seem economical initially but can result in higher costs if results are unsatisfactory and require professional remediation.
Assessing Kit Quality
Not all microcement kits are created equal, and understanding quality indicators helps ensure successful project outcomes.
Material Quality Indicators: High-quality kits use polymer-modified cement formulations with consistent particle size distribution. The primer should be specifically designed for microcement applications, and the sealer should offer appropriate durability for your intended use.
Manufacturer Reputation: Choose kits from established manufacturers with proven track records in the microcement industry. Look for companies that provide technical support, detailed application guides, and warranty coverage.
Coverage Calculations: Quality kits provide accurate coverage calculations based on realistic application thicknesses. Be wary of kits claiming unusually high coverage rates, as this often indicates thinner application requirements that may compromise durability.
Tools for Specific Applications
Bathroom and Wet Area Tools
Microcement applications in bathrooms and wet areas require specialized tools and additional considerations for waterproofing and precision work around fixtures.
Waterproofing Equipment: Wet area applications require additional waterproofing tools including membrane application brushes, seam rollers for waterproof membranes, and precision cutting tools for working around pipes and fixtures. Silicone application tools and smoothing implements are essential for creating watertight seals.
Precision Application Tools: Working around bathroom fixtures requires smaller, more precise tools. Mini trowels (100-150mm), detail brushes, and flexible spatulas allow for accurate application in tight spaces and around complex shapes. Masking tape and protective films are crucial for protecting fixtures during application.
Moisture Management: Dehumidifiers and fans help control moisture levels during application and curing, particularly important in bathroom environments where humidity can affect material performance. Moisture meters help ensure substrates are adequately dry before application begins.
Floor Application Equipment
Microcement floor applications require specific tools designed for larger surface areas and the physical demands of floor-level work.
Large Area Tools: Floor applications benefit from larger trowels (300-400mm) and long-handled tools that reduce physical strain and improve efficiency. Professional floor squeegees and large rollers help achieve consistent coverage across expansive areas.
Edge and Detail Work: Floor edges and transitions require specialized tools including edge trowels, corner tools, and flexible detail brushes. These tools ensure clean, professional transitions between microcement floors and walls or other surfaces.
Surface Preparation: Floor preparation often requires more aggressive tools including shot blasters, scarifying machines, and industrial vacuum systems for dust control. Diamond grinding equipment may be necessary for removing existing coatings or leveling uneven surfaces.
Wall and Vertical Surface Tools
Vertical applications present unique challenges that require specific tools and techniques for successful microcement installation.
Vertical Application Trowels: Wall applications require trowels with specific flexibility and size characteristics. Medium-sized trowels (200-250mm) with moderate flexibility provide the best control for vertical surfaces while maintaining the ability to achieve smooth finishes.
Support and Scaffolding: Professional wall applications often require scaffolding or platform systems for safe access to all areas. Adjustable platforms and safety equipment are essential for larger wall projects.
Gravity Considerations: Vertical applications require tools that help manage material flow and prevent sagging. Specialized vertical application techniques and tools help maintain consistent thickness and prevent material from sliding during application.
Mixing Equipment and Techniques
Professional Mixing Systems
Proper mixing is crucial for microcement performance, and professional mixing equipment ensures consistent, high-quality results.
Paddle Mixers: Professional paddle mixers with variable speed control provide optimal mixing for microcement materials. Low-speed mixing (300-400 RPM) prevents air entrainment while ensuring thorough material combination. Spiral mixing paddles designed for cement-based materials provide the most effective mixing action.
Batch Size Considerations: Mixing equipment should be sized appropriately for your application rate. Smaller batches ensure material freshness and workability, while larger batches improve efficiency for extensive projects. Professional installers typically work with 5-10kg batches for optimal results.
Mixing Consistency: Achieving consistent mixing results requires standardized procedures and timing. Professional mixing protocols specify exact mixing times, speeds, and sequences to ensure every batch meets quality standards.
Material Handling Equipment
Efficient material handling equipment improves productivity and reduces physical strain during microcement installation.
Transport and Storage: Material buckets, mixing containers, and transport systems should be designed for easy handling and cleaning. Stainless steel or high-quality plastic containers prevent contamination and ensure easy cleanup.
Measuring Equipment: Accurate measuring equipment including digital scales and graduated containers ensure proper mixing ratios. Professional installations require precise material proportions for optimal performance and consistency.
Cleanup Systems: Efficient cleanup equipment including pressure washers, scrubbing systems, and waste disposal containers help maintain clean work areas and proper tool maintenance.
Tool Maintenance and Care
Cleaning and Storage
Proper tool maintenance extends equipment life and ensures consistent performance across multiple projects.
Immediate Cleaning: Microcement materials cure quickly, making immediate tool cleaning essential. Tools should be cleaned with water immediately after use, before material begins to set. Specialized cleaning solutions may be required for stubborn residues.
Deep Cleaning Procedures: Regular deep cleaning with appropriate solvents and mechanical cleaning tools removes built-up residues and maintains tool performance. Stainless steel tools may require specialized cleaning products to maintain their finish and prevent corrosion.
Storage Conditions: Tools should be stored in dry, clean conditions to prevent rust and contamination. Proper storage systems protect tool edges and maintain calibration of measuring equipment.
Tool Replacement and Upgrades
Understanding when to replace or upgrade tools ensures consistent quality and efficiency.
Wear Indicators: Trowels and application tools show wear through edge damage, flexibility loss, and surface scratching. Regular inspection helps identify tools that need replacement before they affect finish quality.
Performance Upgrades: As skills and project demands increase, upgrading to higher-quality tools often provides significant improvements in efficiency and finish quality. Professional-grade tools typically offer better durability and performance characteristics.
Cost-Benefit Analysis: Tool replacement decisions should consider the cost of new tools against the potential for improved efficiency and quality. High-quality tools often provide better long-term value despite higher initial costs.
Where to Source Quality Equipment
UK Suppliers and Distributors
Finding reliable suppliers for microcement tools and equipment is crucial for project success and ongoing support.
Specialized Distributors: UK distributors specializing in microcement and decorative concrete products typically offer the best selection and technical support. These suppliers understand the specific requirements of microcement applications and can provide expert advice.
Trade Suppliers: Professional trade suppliers often provide better pricing and technical support for larger projects. Establishing relationships with trade suppliers can provide access to professional-grade materials and equipment not available through retail channels.
Online vs Local Suppliers: While online suppliers may offer competitive pricing, local suppliers provide immediate availability and hands-on support. The choice depends on project urgency and the level of technical support required.
Equipment Rental Options
For occasional users or specific project requirements, equipment rental can provide access to professional-grade tools without the capital investment.
Rental Advantages: Equipment rental allows access to expensive specialized tools for specific projects. This is particularly valuable for surface preparation equipment that may only be needed occasionally.
Rental Considerations: Rental equipment should be inspected for proper operation and cleanliness before use. Understanding rental terms and insurance requirements helps avoid unexpected costs.
Purchase vs Rental Decisions: The decision between purchasing and renting equipment depends on usage frequency, storage capabilities, and capital availability. Regular users typically benefit from purchasing, while occasional users may find rental more economical.
Conclusion: Building Your Microcement Toolkit
Success with microcement applications depends heavily on having the right tools and equipment for your specific projects and skill level. Whether you’re starting with a basic DIY kit or building a comprehensive professional toolkit, understanding the purpose and quality requirements of each tool ensures better results and more efficient work.
The investment in quality tools pays dividends through improved finish quality, increased efficiency, and reduced material waste. As your experience grows, upgrading tools and adding specialized equipment enhances your capabilities and opens opportunities for more complex and rewarding projects.
For microcement projects in London and Surrey, having the right tools is just the beginning. Proper technique, quality materials, and attention to detail combine with good equipment to create the stunning, durable finishes that make microcement such an attractive choice for modern interiors.


