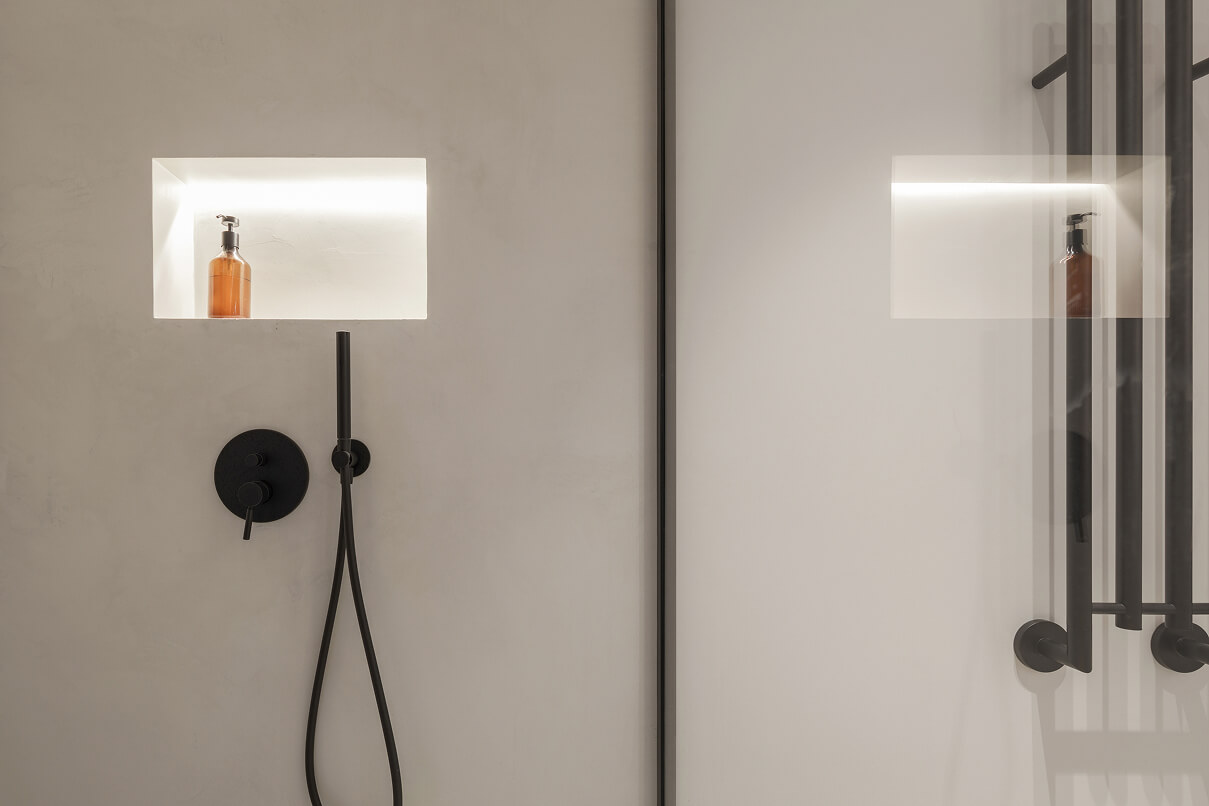

Absolutely thrilled with our new microcement bathroom! The team from MCF transformed our dated ensuite into a stunning, spa-like space. The seamless finish on the walls and floor is exactly what we wanted - no grout lines to clean and such a modern look.
We chose microcement for our kitchen renovation and couldn't be happier. The worktops have a beautiful, smooth finish that's incredibly durable - perfect for our busy family kitchen. The team was professional, punctual, and left everything spotless. Six months on and it still looks brand new despite heavy daily use.
The colour matching was perfect. Professional service from start to finish
Our small bathroom was completely transformed with microcement. The wet room design with seamless walls and floor is not only beautiful but so practical. No more mould issues around tiles! The team explained everything clearly and the finish is flawless. Worth every penny for the quality and peace of mind.
Excellent work on both our bathrooms. The microcement finish is exactly what we wanted - modern, clean, and easy to maintain. The team was knowledgeable and helped us choose the perfect colour. Installation took slightly longer than expected due to some plumbing complications, but they handled everything professionally.
If you have been considering replacing your residential or commercial buildings flooring finish, or wall finish then you may want to consider using micro-cement. Often referred to as waxed concrete or as the french call it Beton Cire.
To help you learn more about the decorative and practical advantages of this ingenious building resource, listed below are the top three benefits if using micro cement as a flooring or wall material.
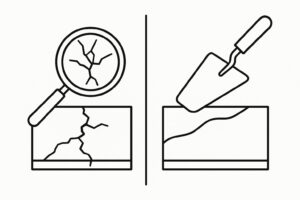
Waterproof and Durable
Micro-cement is manufactured using Portland cement, siica sand and polymer resins.
This unique combination of building materials means that micro-cement is highly resilient and 100% waterproof, despite only being 2mm thick. Moreover, the final polyurethene layer is added to the micro-cement means that it boasts extremely efficient anti-scratch, non-slip and anti-stain properties.
As a result micro-cement is an extremely durable material that can be used in any room throughout your home, from your garden patio to furnishing the floors and walls in your bathrooms, wetrooms, kitchens and much, much more. It can even be used to refurbish kitchen worktops!
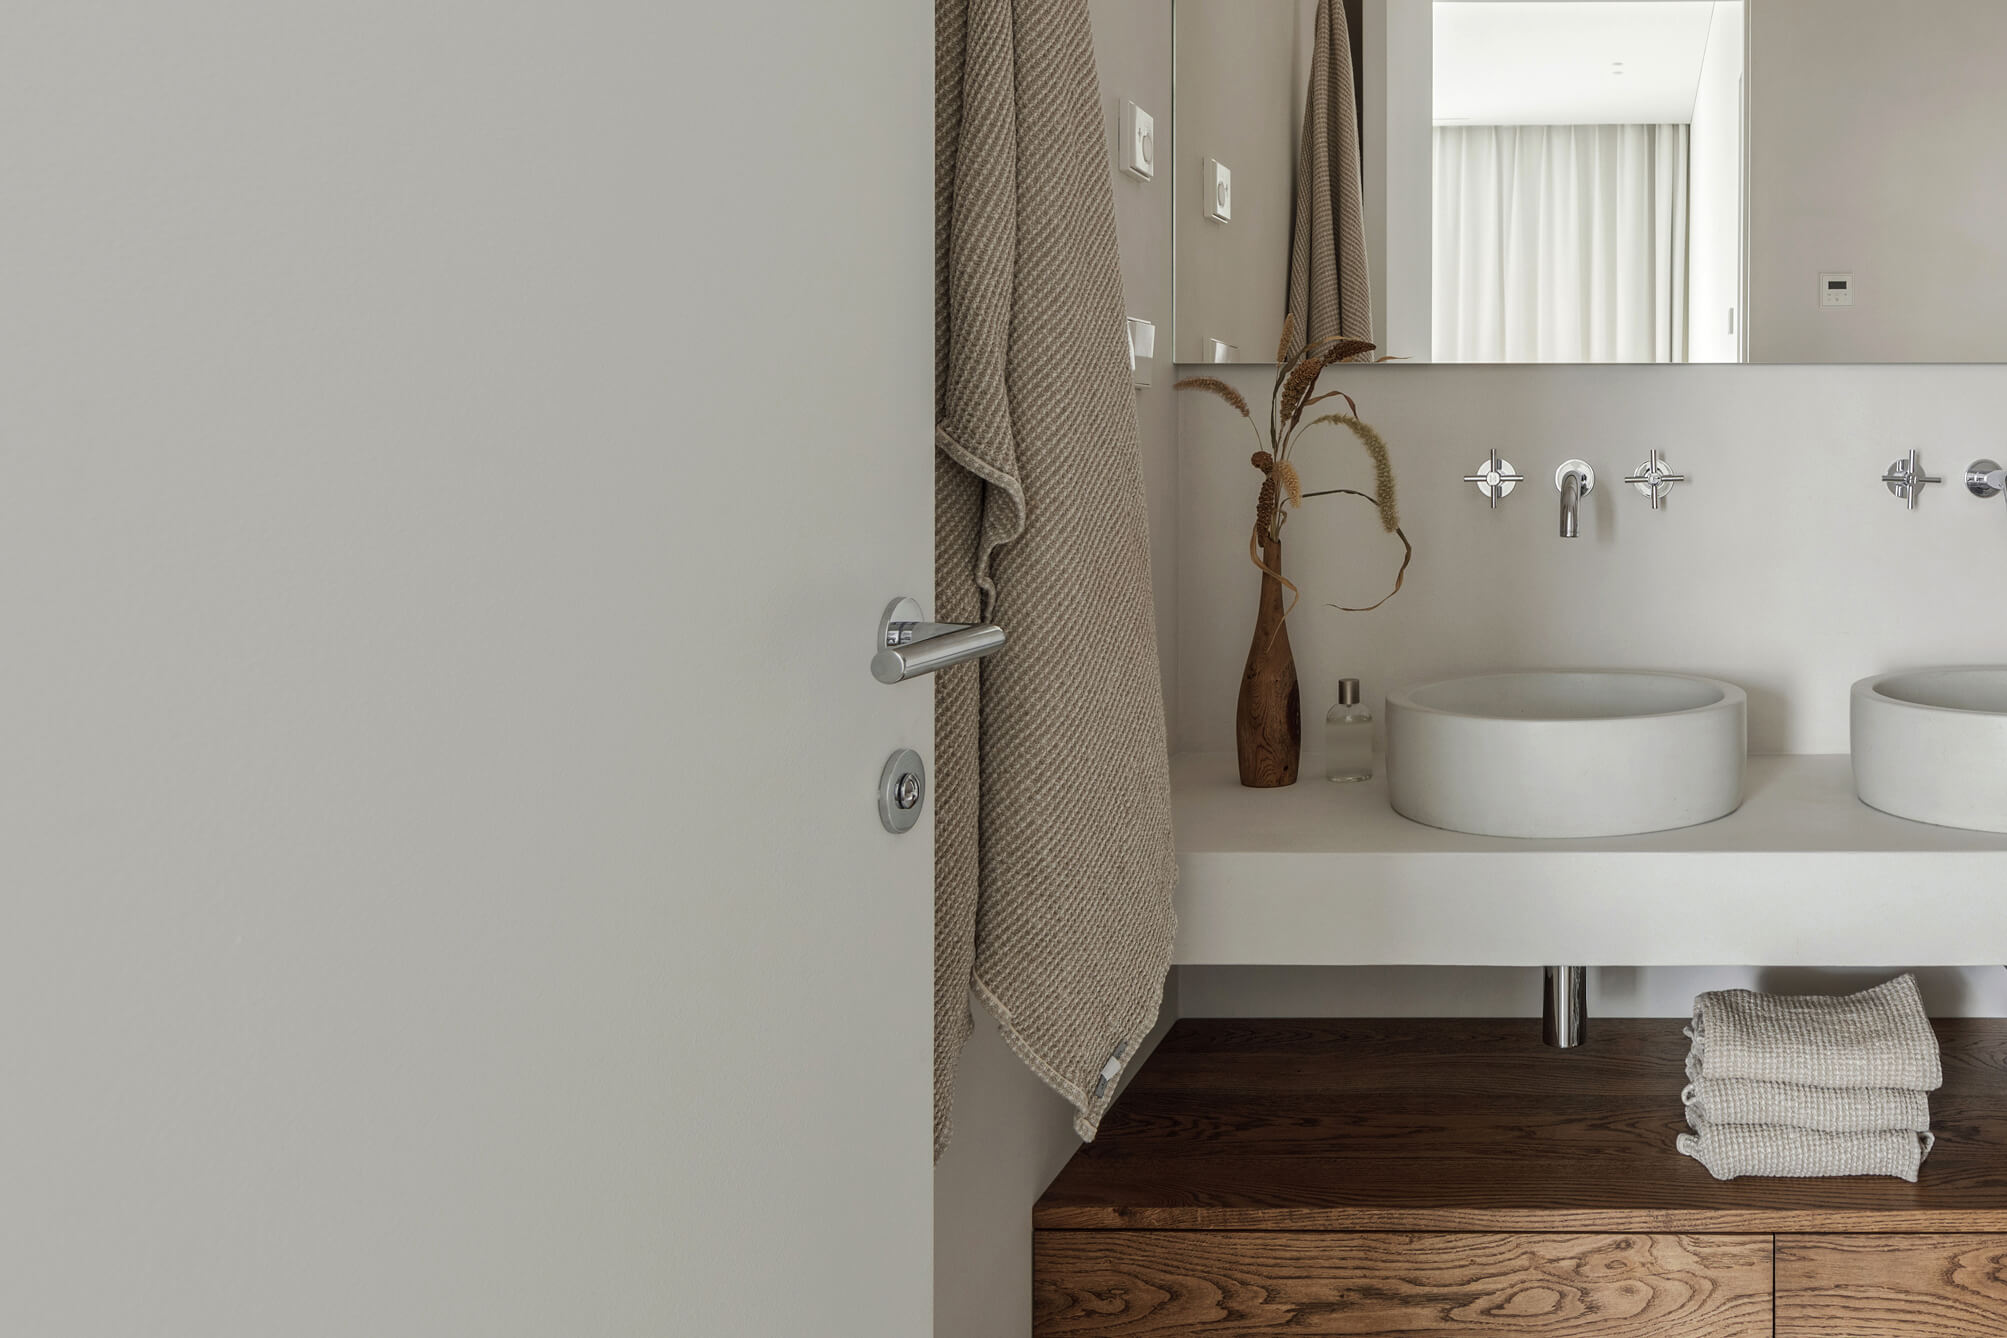
Broad Range of Design Choices
In recent years, micro-cement has become a popular building material in France, where its known as Beton Cire.
It can be manufactured in a vast array of colours and finishes.
Therefore, if you decide to use micro-cement as a floor or as a wall finish, you can choose from over 40 different colours that are available in either smooth or textured finishes.
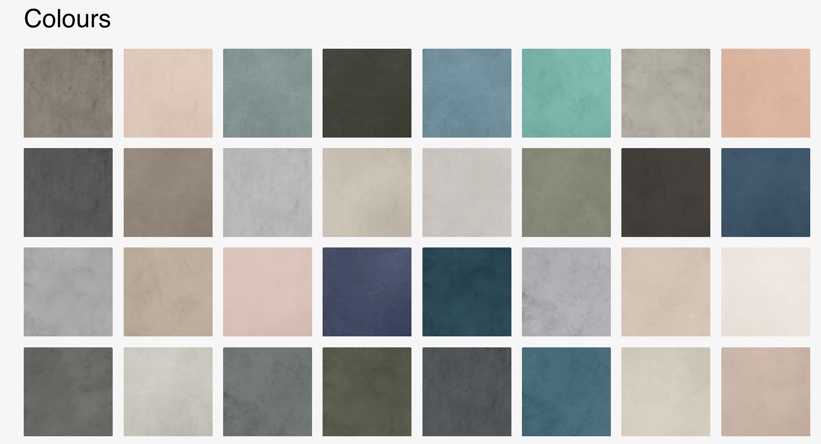
Consequently, by investing in micro-cement building materials, you can feel free to decorate your wetrooms, walls and floors in a coloured finish that compliments all of your individual stylistic preference.
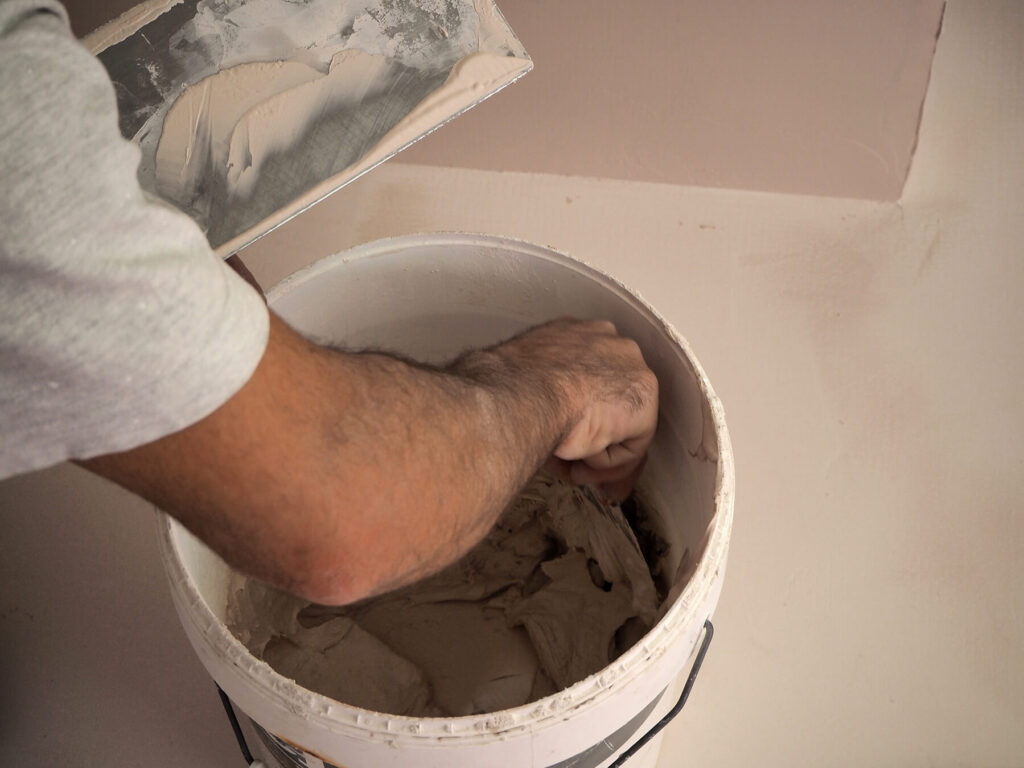
Easy to Install and Maintain
Micro-cement can be installed rapidly and effortlessly because it can be fitted over any existing flooring materials or wall tiles that you own.
It can even be applied to furniture or sound sub bases. Moreover, once installed, micro-cement is extremely quick and easy to maintain.
No hassle, just exceptionally stylish floors and walls that will serve your home for years to come.